Deploying FastAPI application to Render
A free Heroku alternative

Recently, I came to know that Heroku is going to stop supporting free services. I have almost all the projects running in Heroku and I never tried any services. Many people pointed out that Render is the best free alternative to the Heroku. So I am giving it a try by hosting a FastAPI application. Render seems to directly support python frameworks like Flask, Django etc as their documentation mentions them. But we should be able to host FastAPI app as it supports building any python app, we just need to change the starting command. Let's get into it without wasting another minute.
Creating Render Account
To host on Render, you'll need to sign up or create an account. It's free and supports direct login using google, GitHub and GitLab account. Or you can use email and password to signup. You need to verify your email to get full access to the platform. Just head to render/register.
Need for GitHub or GitLab account
It's easier to deploy an application that has its source code hosted on GitHub or GitLab. Render connects with GitHub or GitLab to deploy your apps and websites automatically on every push to your project. This is very useful, as you don't have to manually deploy every time you make a change. You can either connect GitHub or GitLab or both.

Let's make a simple API using FastAPI
We need an application to deploy to the Render. Let's build a simple API app which echos Hello World.
Setting up environment
You'll need to download and install Python3 to your local machine. It's better to set up a virtual environment for the application.
Windows
For windows, just head to python.org and download the latest EXE file and install. Installation is pretty well interactive, you just need to follow the instructions shown.
Next, create a folder in your preferred directory and name simple-api. Next to set up virtual environment enter the command opening terminal or CMD.
py -3 -m venv .venv
.venv\scripts\activate
Linux or Mac OS
Most of the Linux Distributions come with python3 be installed by default, just check if it exists by using command
python3 --version
For mac users just head to python.org and download the .pkg file and start installing.
Next to set up virtual environment, on Linux sometimes we need to install extra library. To do the same, just enter the command in your terminal.
sudo apt-get install python3-venv
Next, to initialize and activate a virtual environment on Mac and Linux, use the commands below.
python3 -m venv .venv
source .venv/bin/activate
Installing requirements
Make sure your package manager that is pip is up-to-date.
python -m pip install --upgrade pip
Now install FastAPI, using pip
pip install fastapi
FastAPI also requires an ASGI server, for production, such as Uvicorn or Hypercorn. I personally just use Uvicorn.
pip install "uvicorn[standard]"
Coding the API
Open the folder in any text editors, you can use notepad or advanced IDE's like VS Code or Sublime Text 4. Make a new file called main.py and we use this file to write the code in.
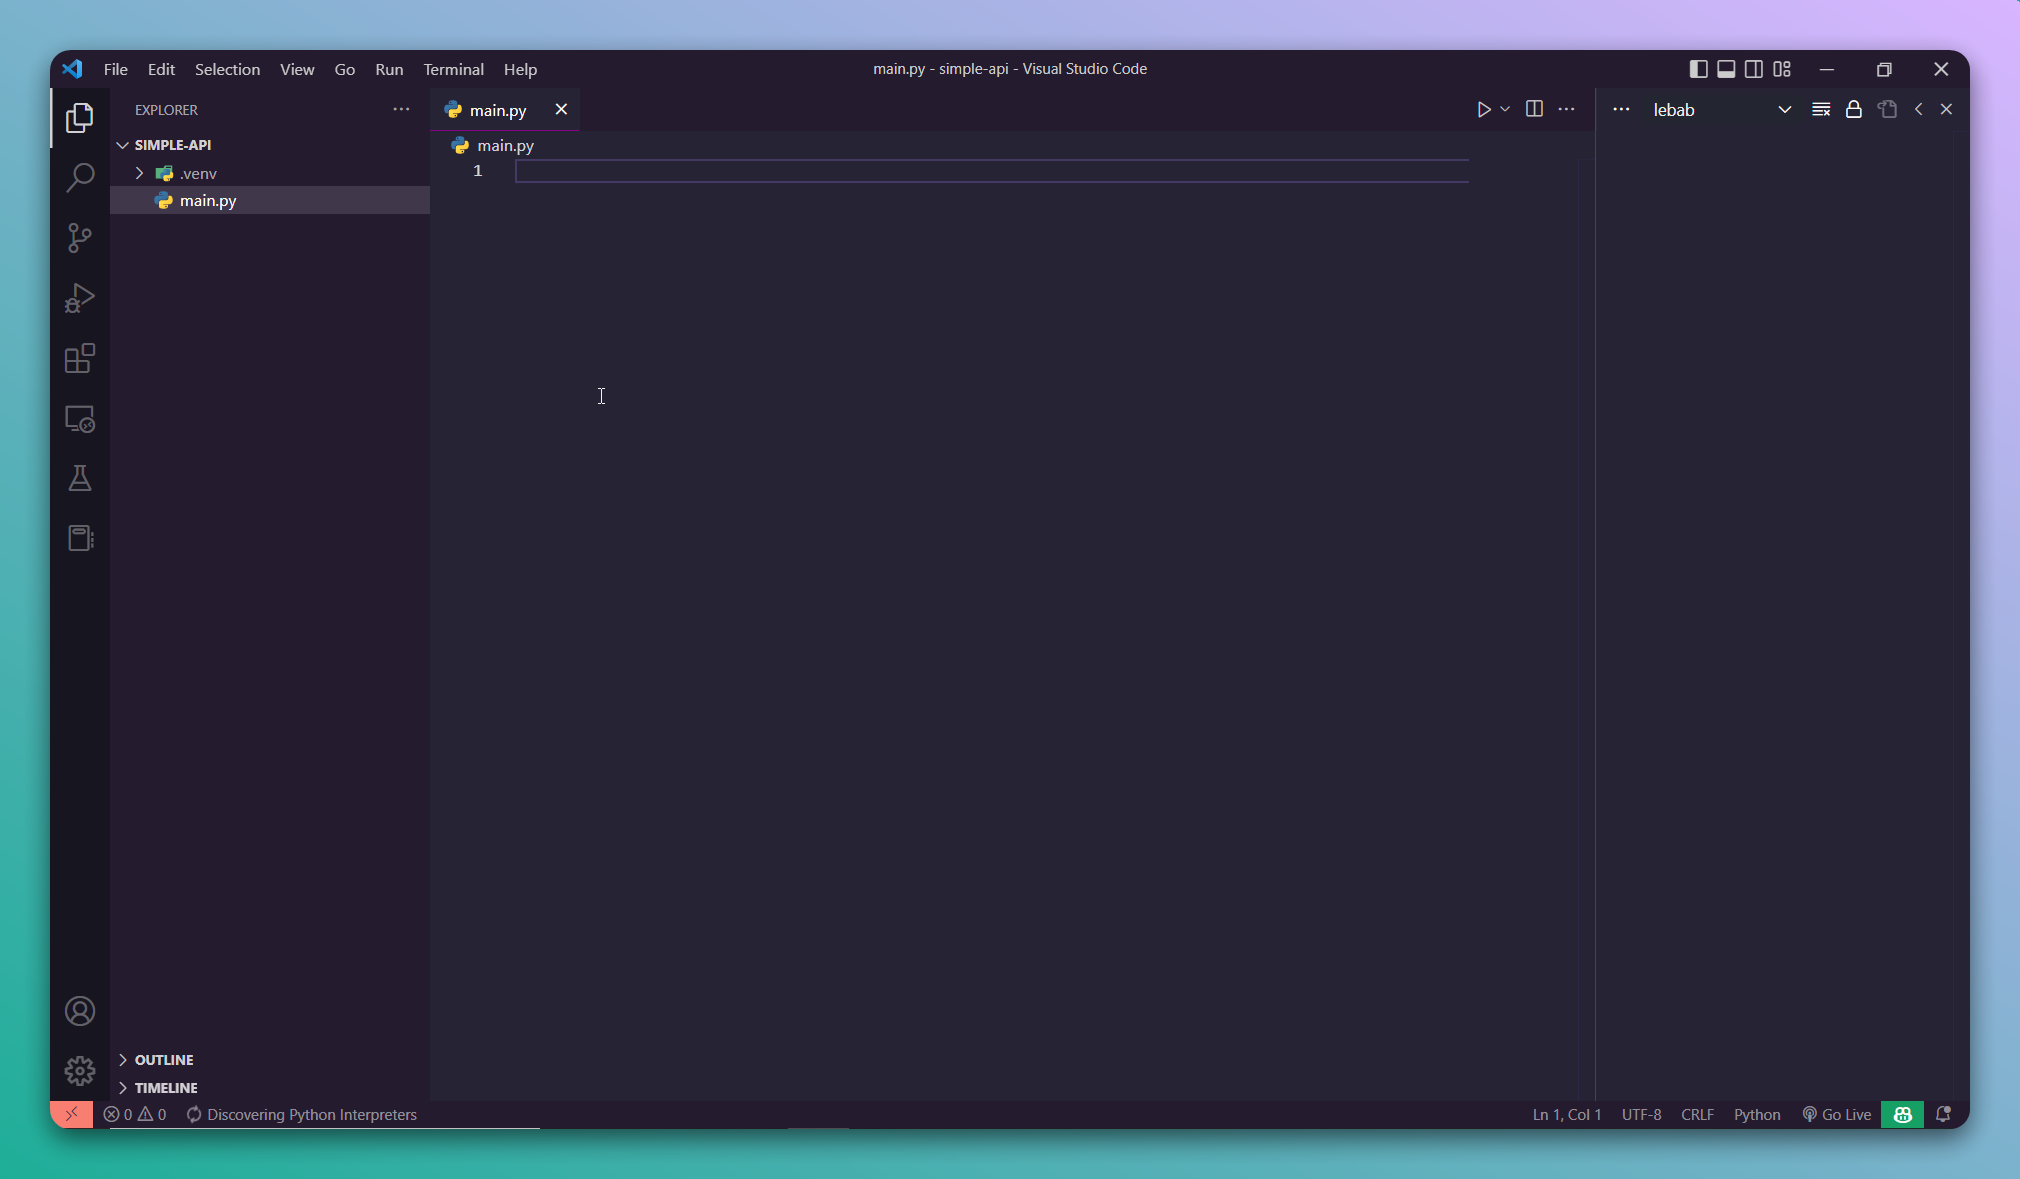
Just copy and paste the below lines to the file. If you're good with python or professional, then you can add or modify, making the API better.
from fastapi import FastAPI

app = FastAPI()

@app.get("/")
def read_root():
    return {"Hello": "World"}
Save the file. Let's try out the simple-api using the command:
uvicorn main:app --reload
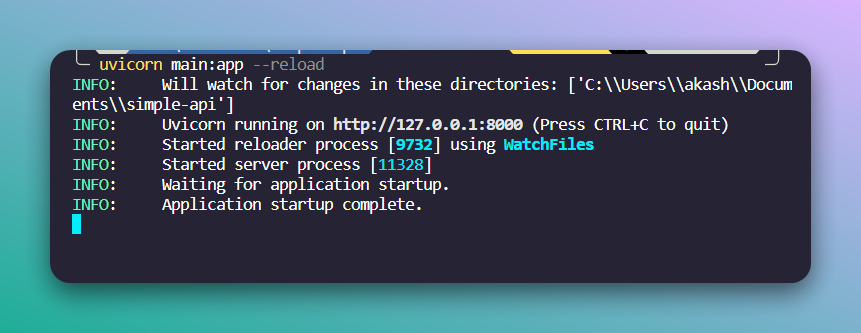
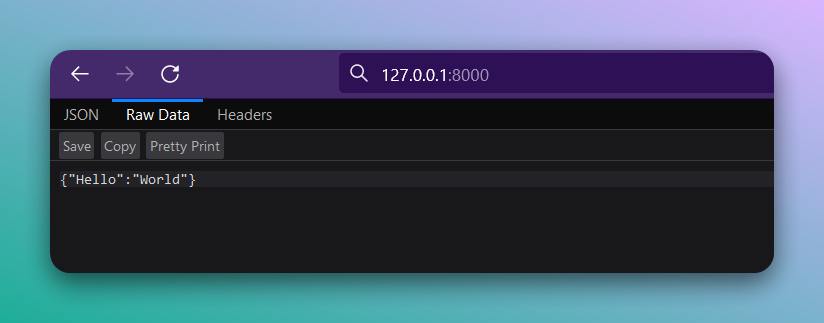
Head to localhost:8000 or http://127.0.0.1:8000. You should see the Hello World.
All done. Now we just need to create some extra files which are need by Render to identify it as a python application.
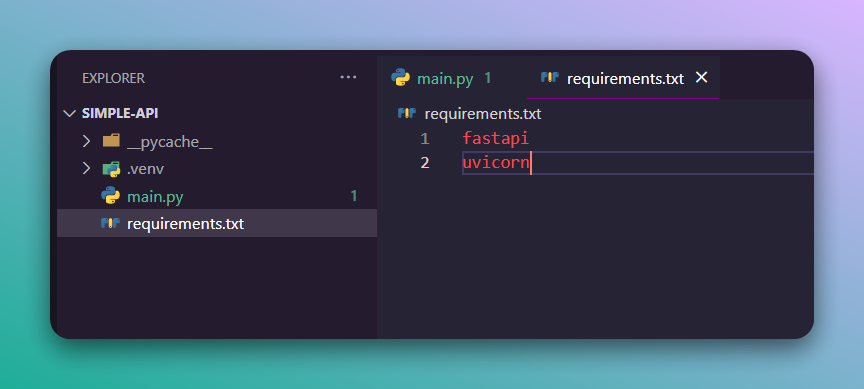
Creating Requirements.txt
Usually I use external library pipreqs, but you can just simply type fastapi and uvicorn in the requirements.txt file. When deploying, render will install the latest version of these modules.
Creating a .gitignore file
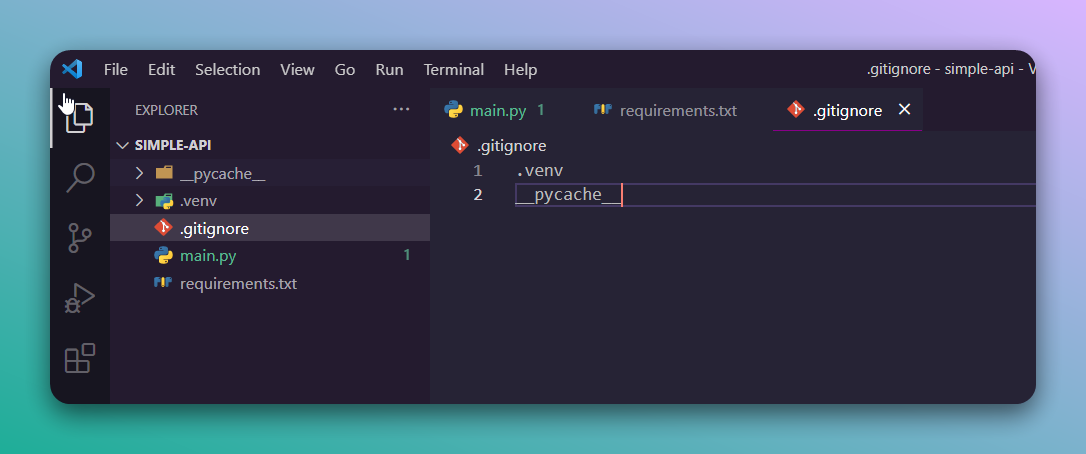
.gitignore file helps to avoid uploading of unwanted or private files to the git clients such as GitHub or GitLab. When sharing your code with others, there are often files or parts of your project, you do not want to share. So these files or folders can be mentioned in the .gitignore file.
For this simple-api we don't want to upload .venv and __pycache__ to the GitHub. So we mention them in the .gitignore file like this.
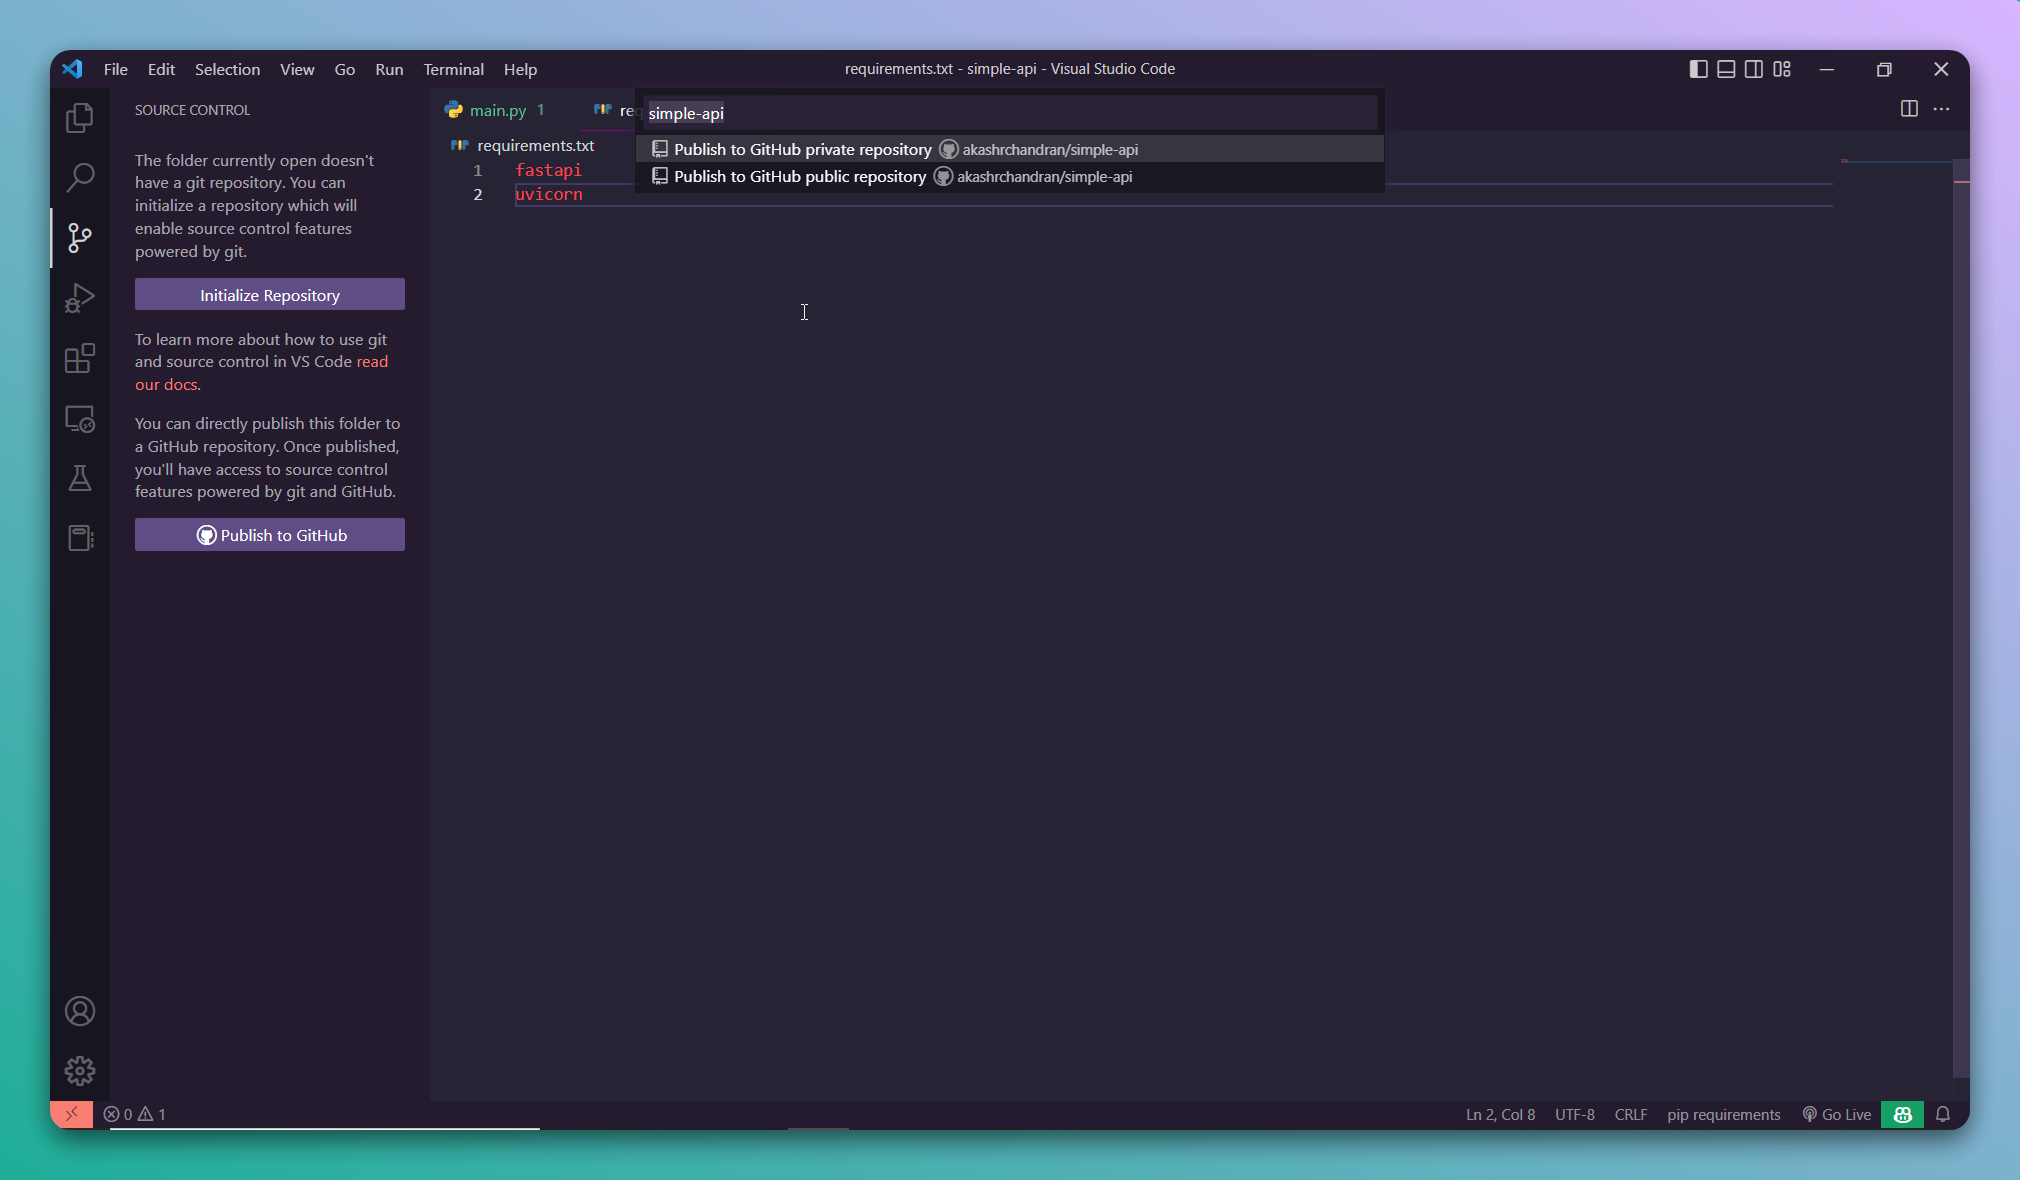
Upload to GitHub or GitLab
I am using the GitHub here, but you can use GitLab as well. I have installed git, and I have connected it to my GitHub account. You'll find many articles on how to do it, just google it. If you're using Visual Studio then it has in built GitHub plugin which makes it way easier.
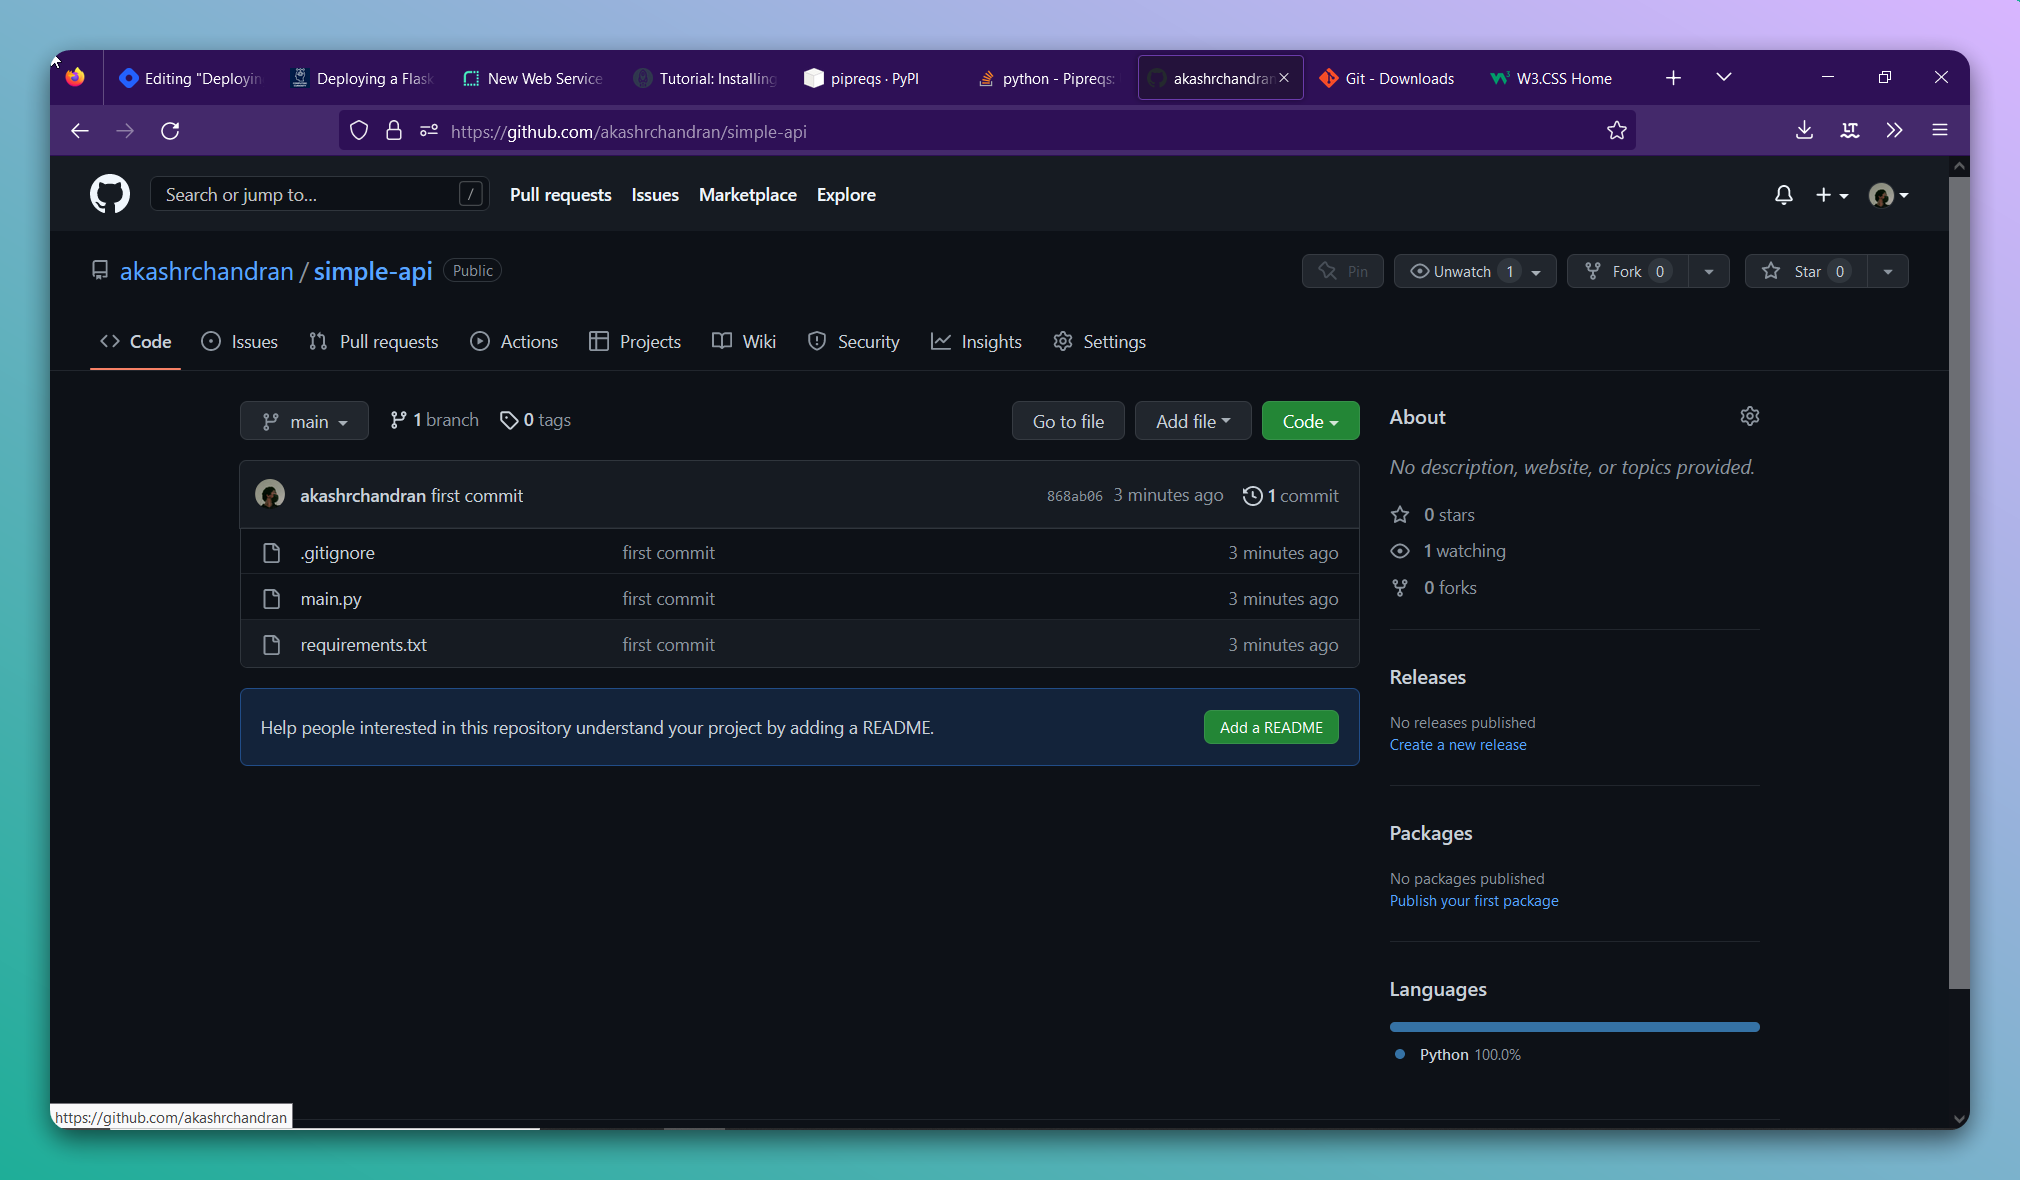
I have successfully uploaded to GitHub, you can find mine at akashrchandran/simple-api. You should definitely add a readme.md to the repo, I will do it later.
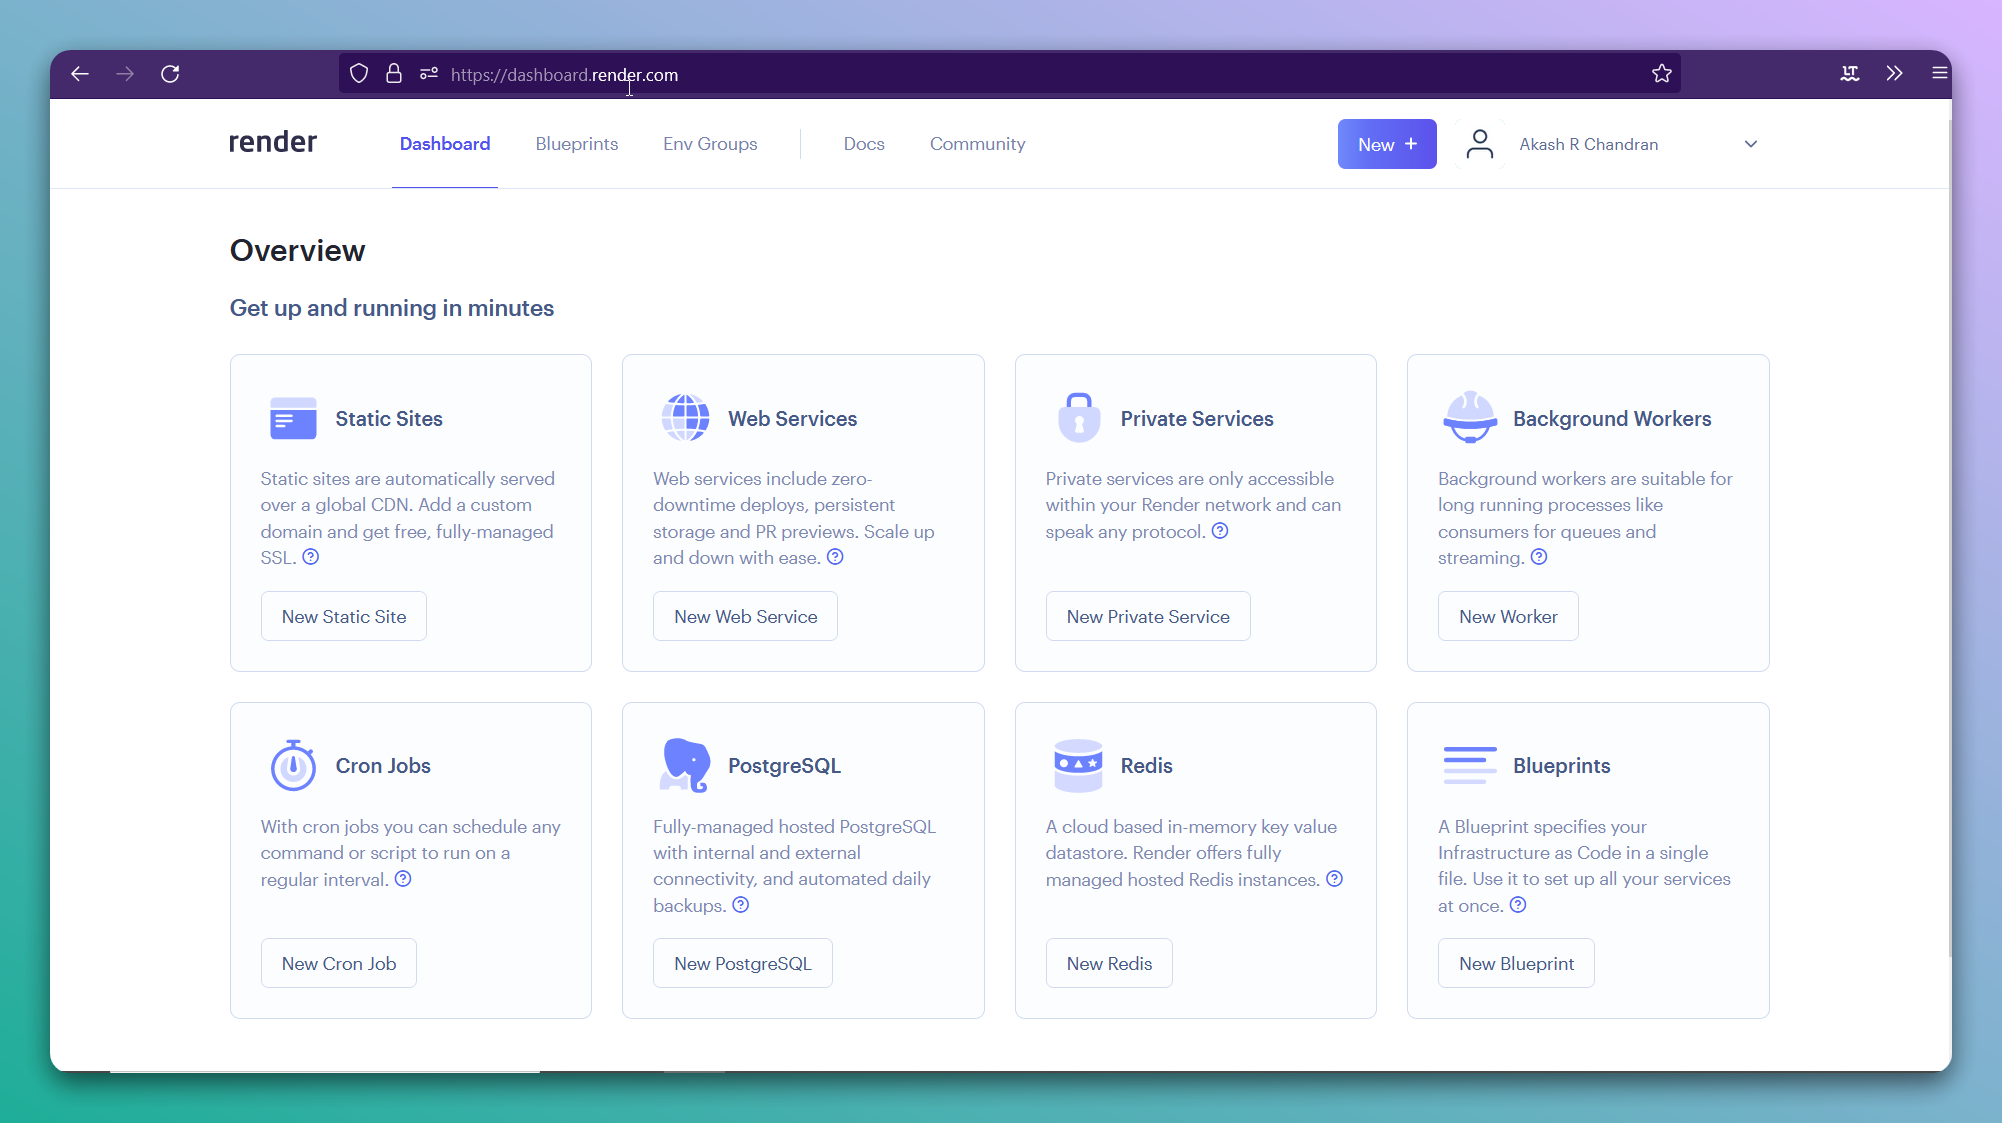
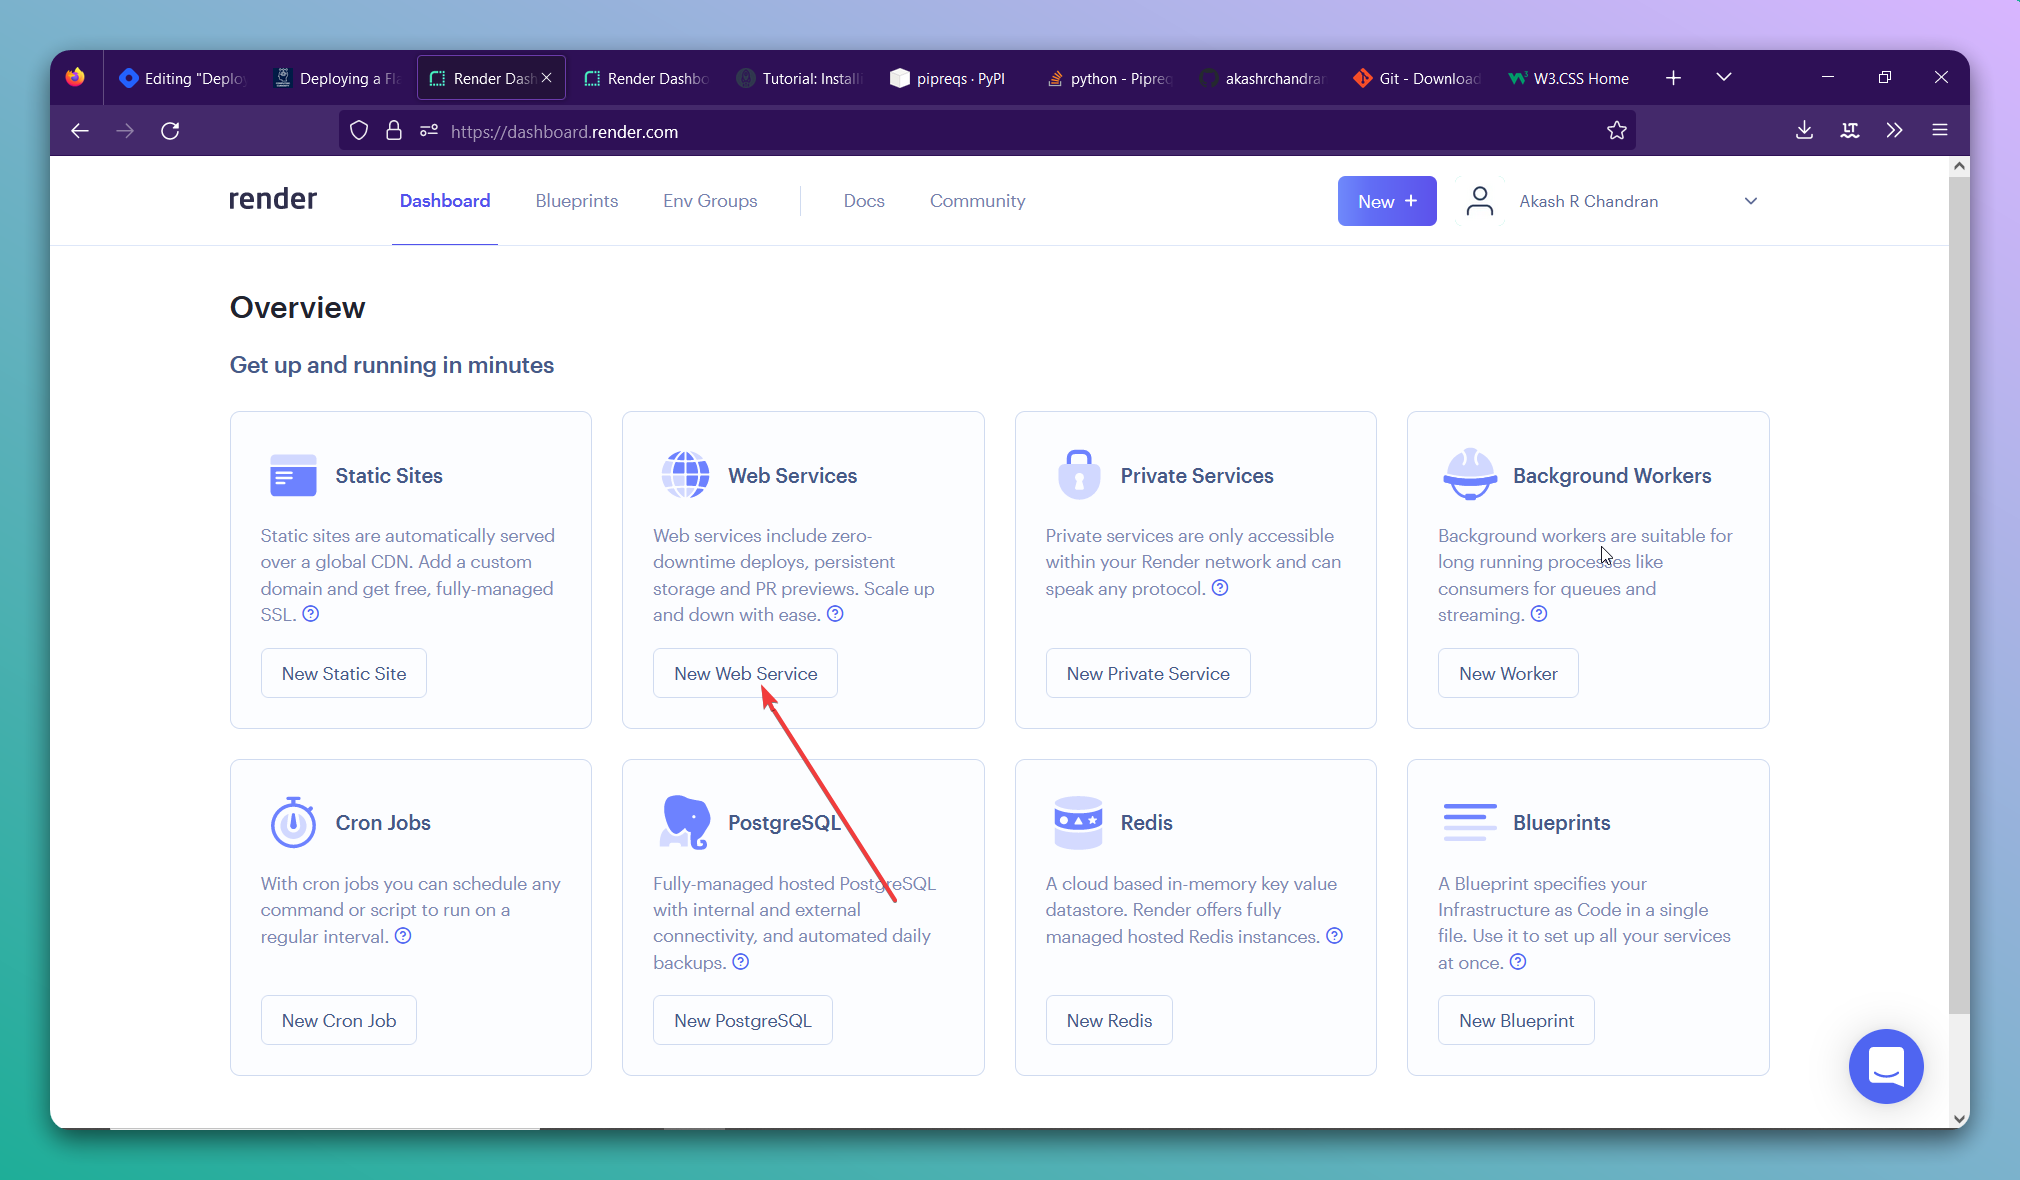
Deploying to Render.com
As we are not deploying a static site, we should choose the option Web Service.
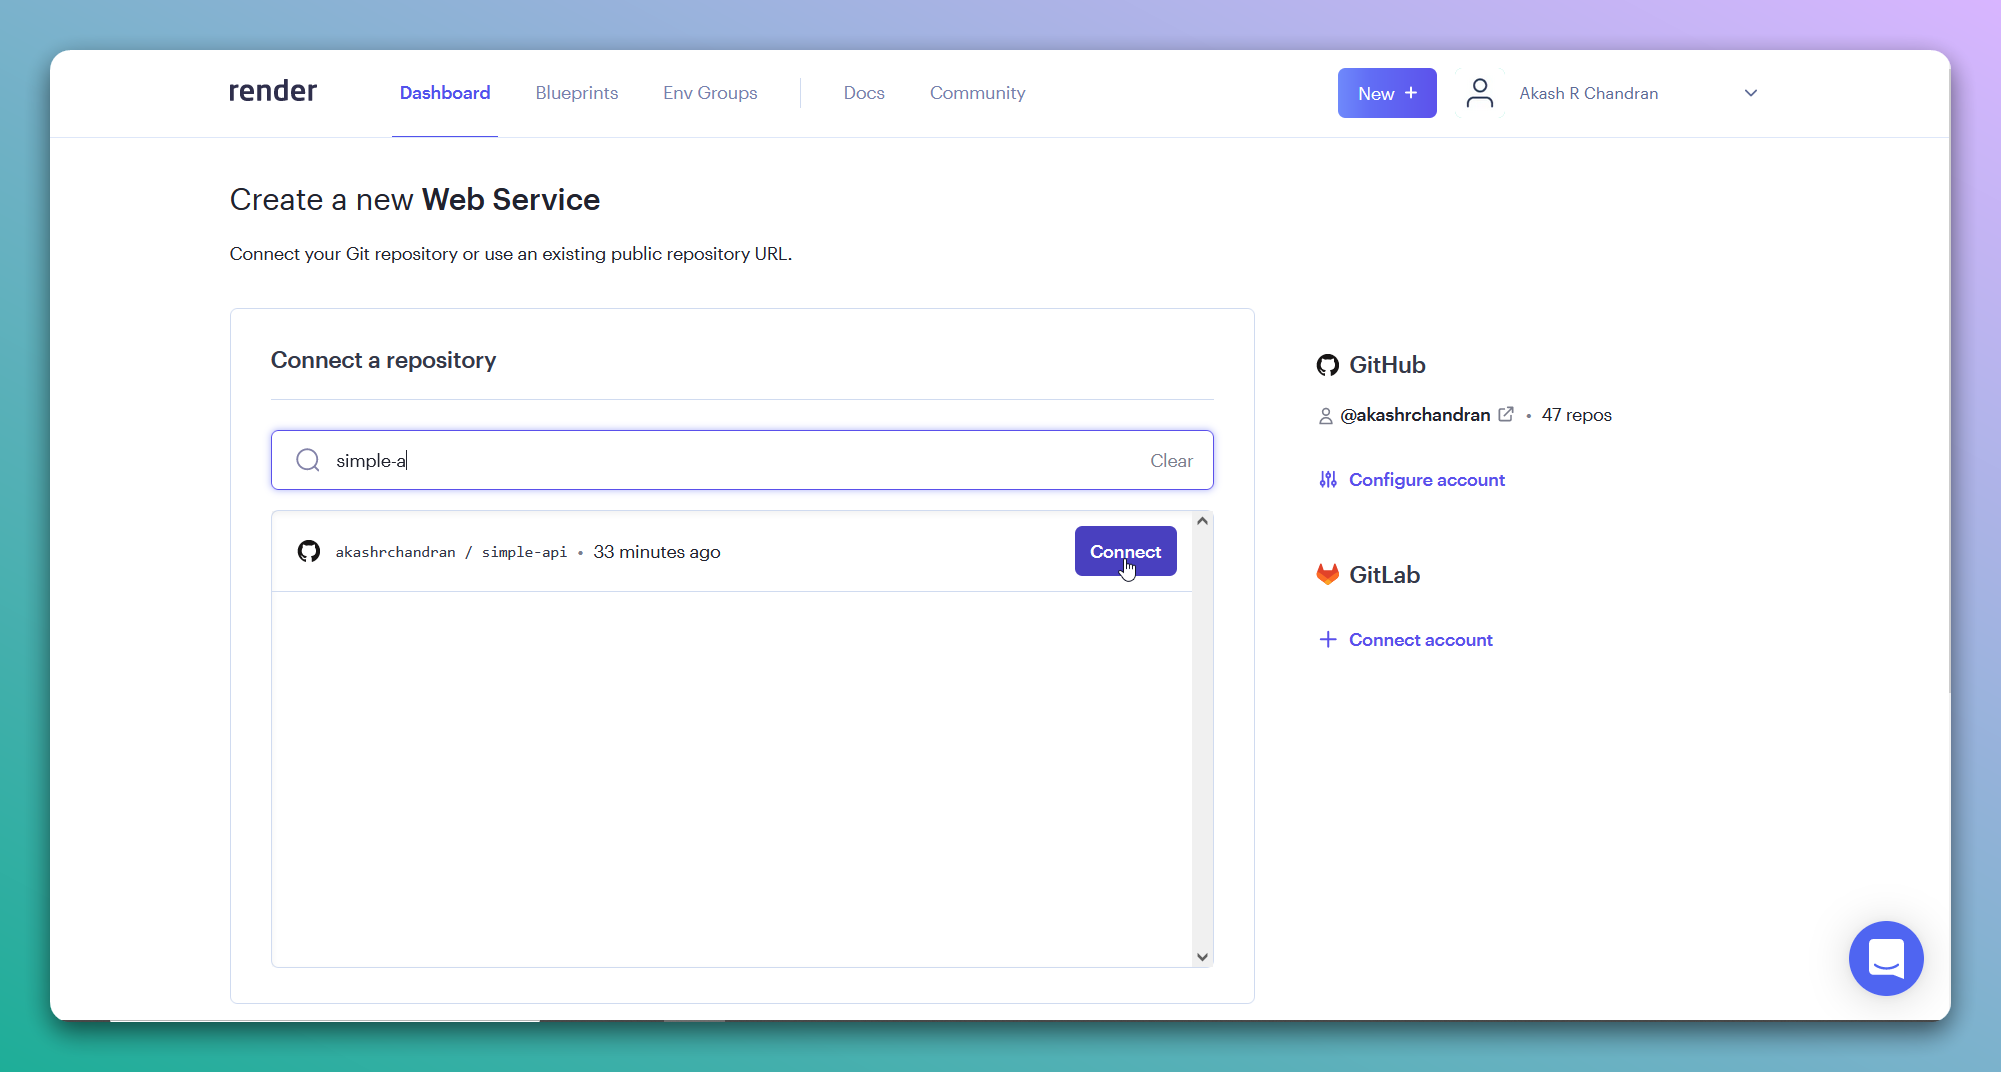
If you have connected your GitHub account, then you can just search the repository name and find it there.
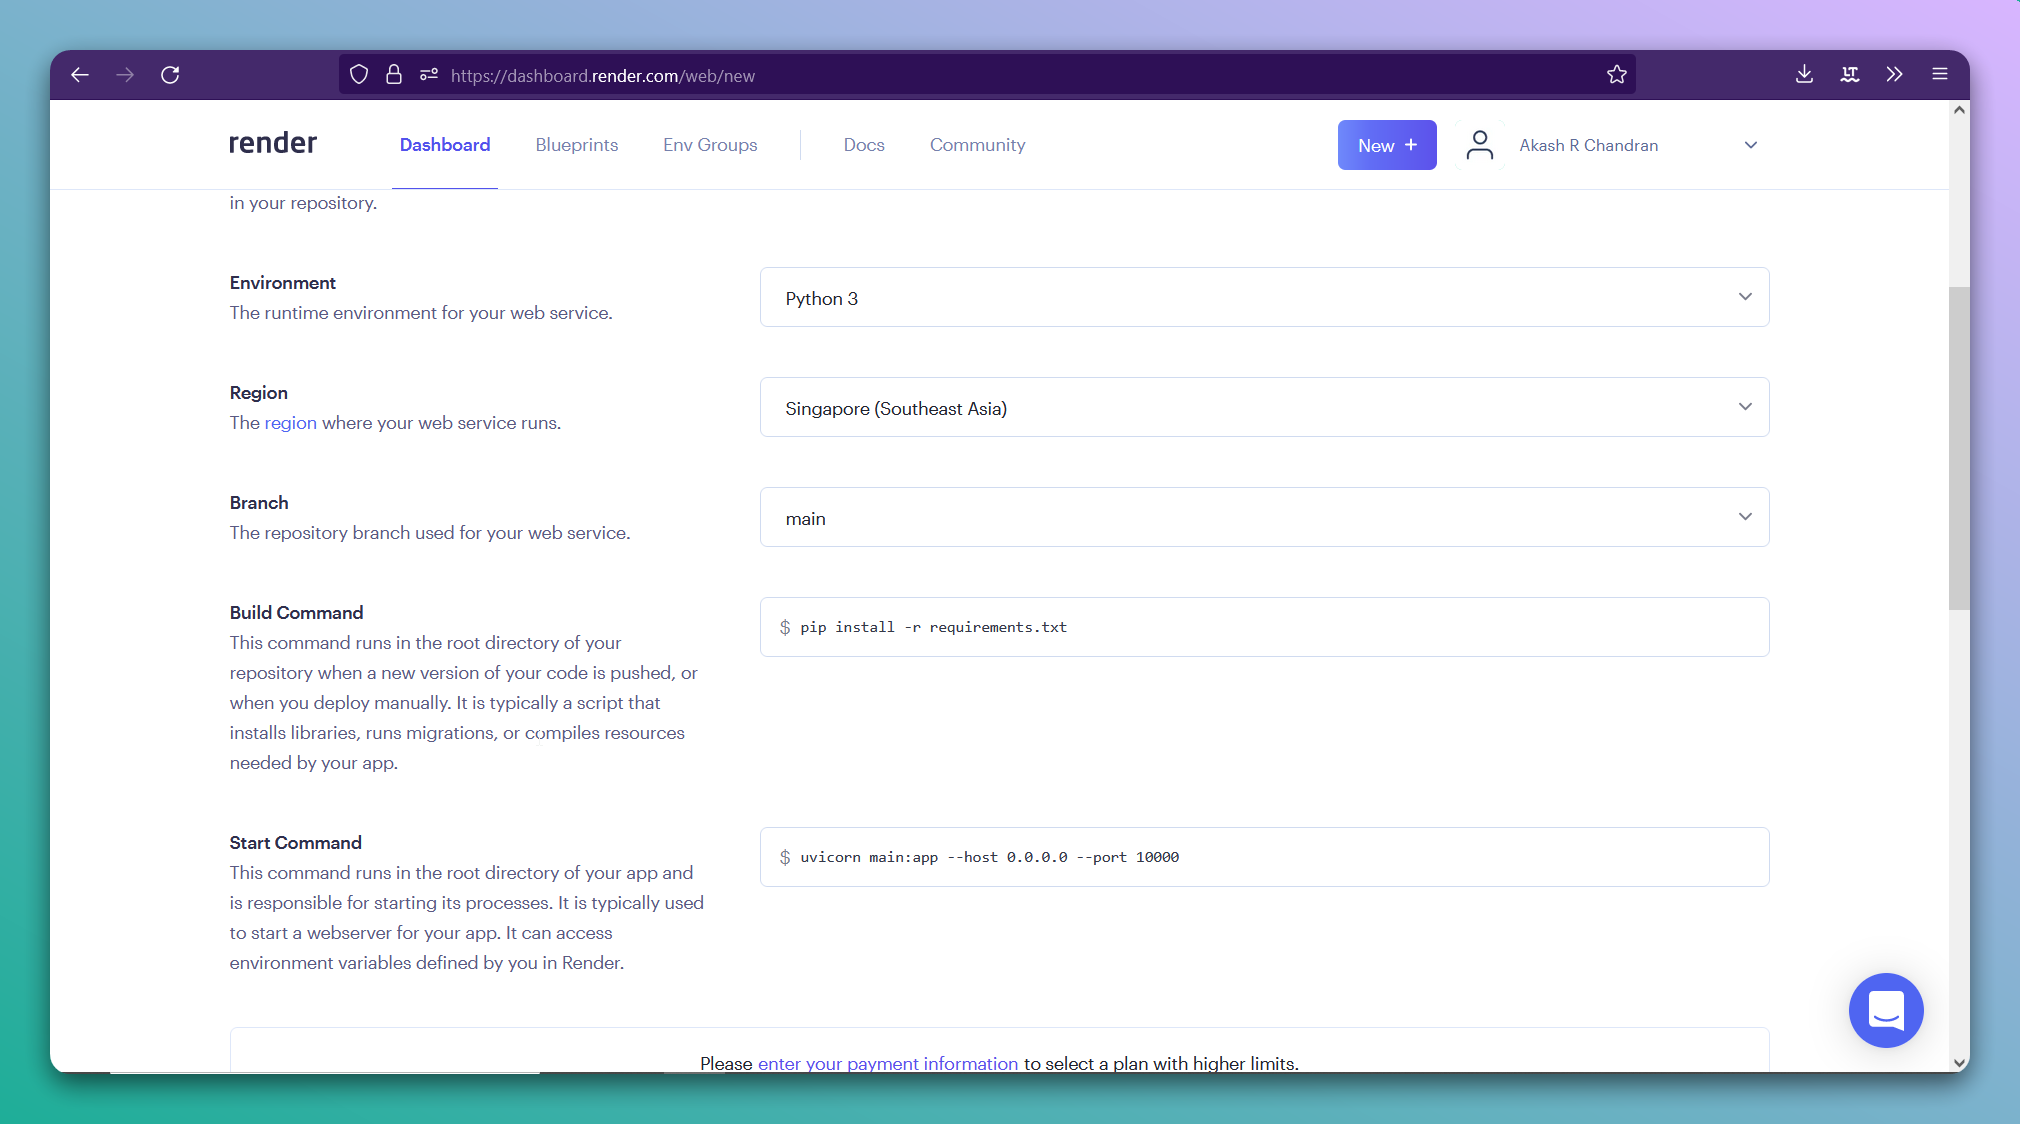
Give a name to your web-service, then to select the region which is nearest to you, for me is Singapore. Leave all other values default. For the Start command, copy and paste the below:
uvicorn main:app --host 0.0.0.0 --port 10000
Deploying may take some time, so patiently wait. After successful deployment, you should see the message like this below.
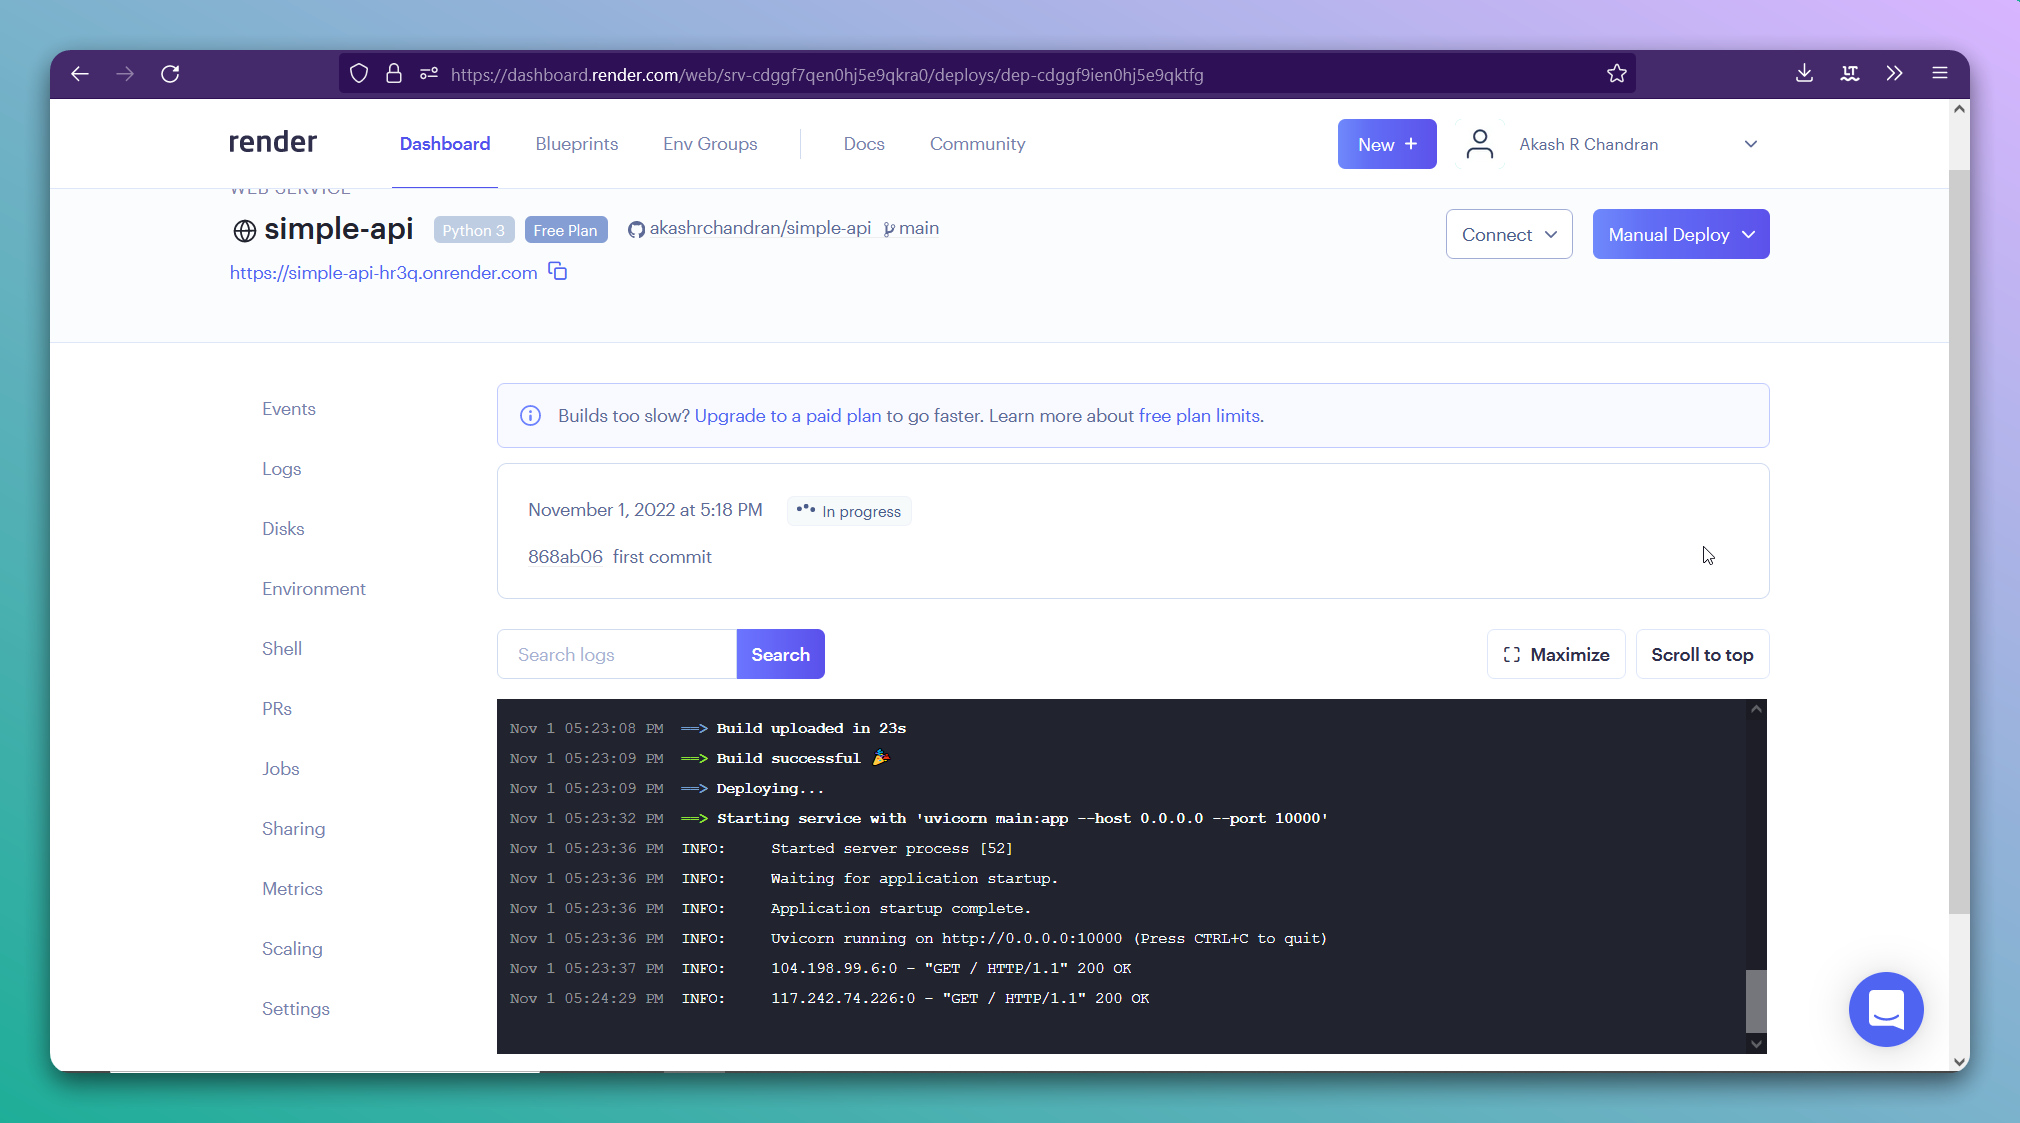
Congratulations, you have successfully deployed your FastAPI application to the render platform. You can view the site I deployed here.
Summary
It was so simple to deploy a FastAPI based application to render. If you don't want to code or waste time on making a FastAPI based app, then you can try deploying mine. It is available on GitHub.
Render may the Heroku alternative thing you're looking for, as it gives out almost the same free specifications as Heroku free tier. Do give it a try!
Thanks for reading...