How to host FastAPI application on Deta Space
Let's try deploying a sample FastAPI app
Almost 2 years ago while browsing through the FastAPI docs, I came across their sponsors one of which was deta.sh and it is still there you can view it at FastAPI Docs. As a curious person, I opened the link and browsed through their website. At that time they had a minimalist design.

They didn't have a GUI to manage apps only CLI to deploy and manipulate apps, the only thing they provided was the register/login and docs if I remember correctly. I tried deploying some apps but failed for some I don't remember. So let the deta cloud and tried something else.
But yesterday I came across the same site and was amazed that they are shifting to a new better version called Deta Space. This is in still beta but it has everything a modern platform has like GUI to manage apps, view logs, better docs and even a page to find user-build apps that are deployed on Deta Space. So I decided to test it out by deploying a sample FastAPI application. We will use the same repository as I used in my old blog showing the deployment of the FastAPI application on Render.
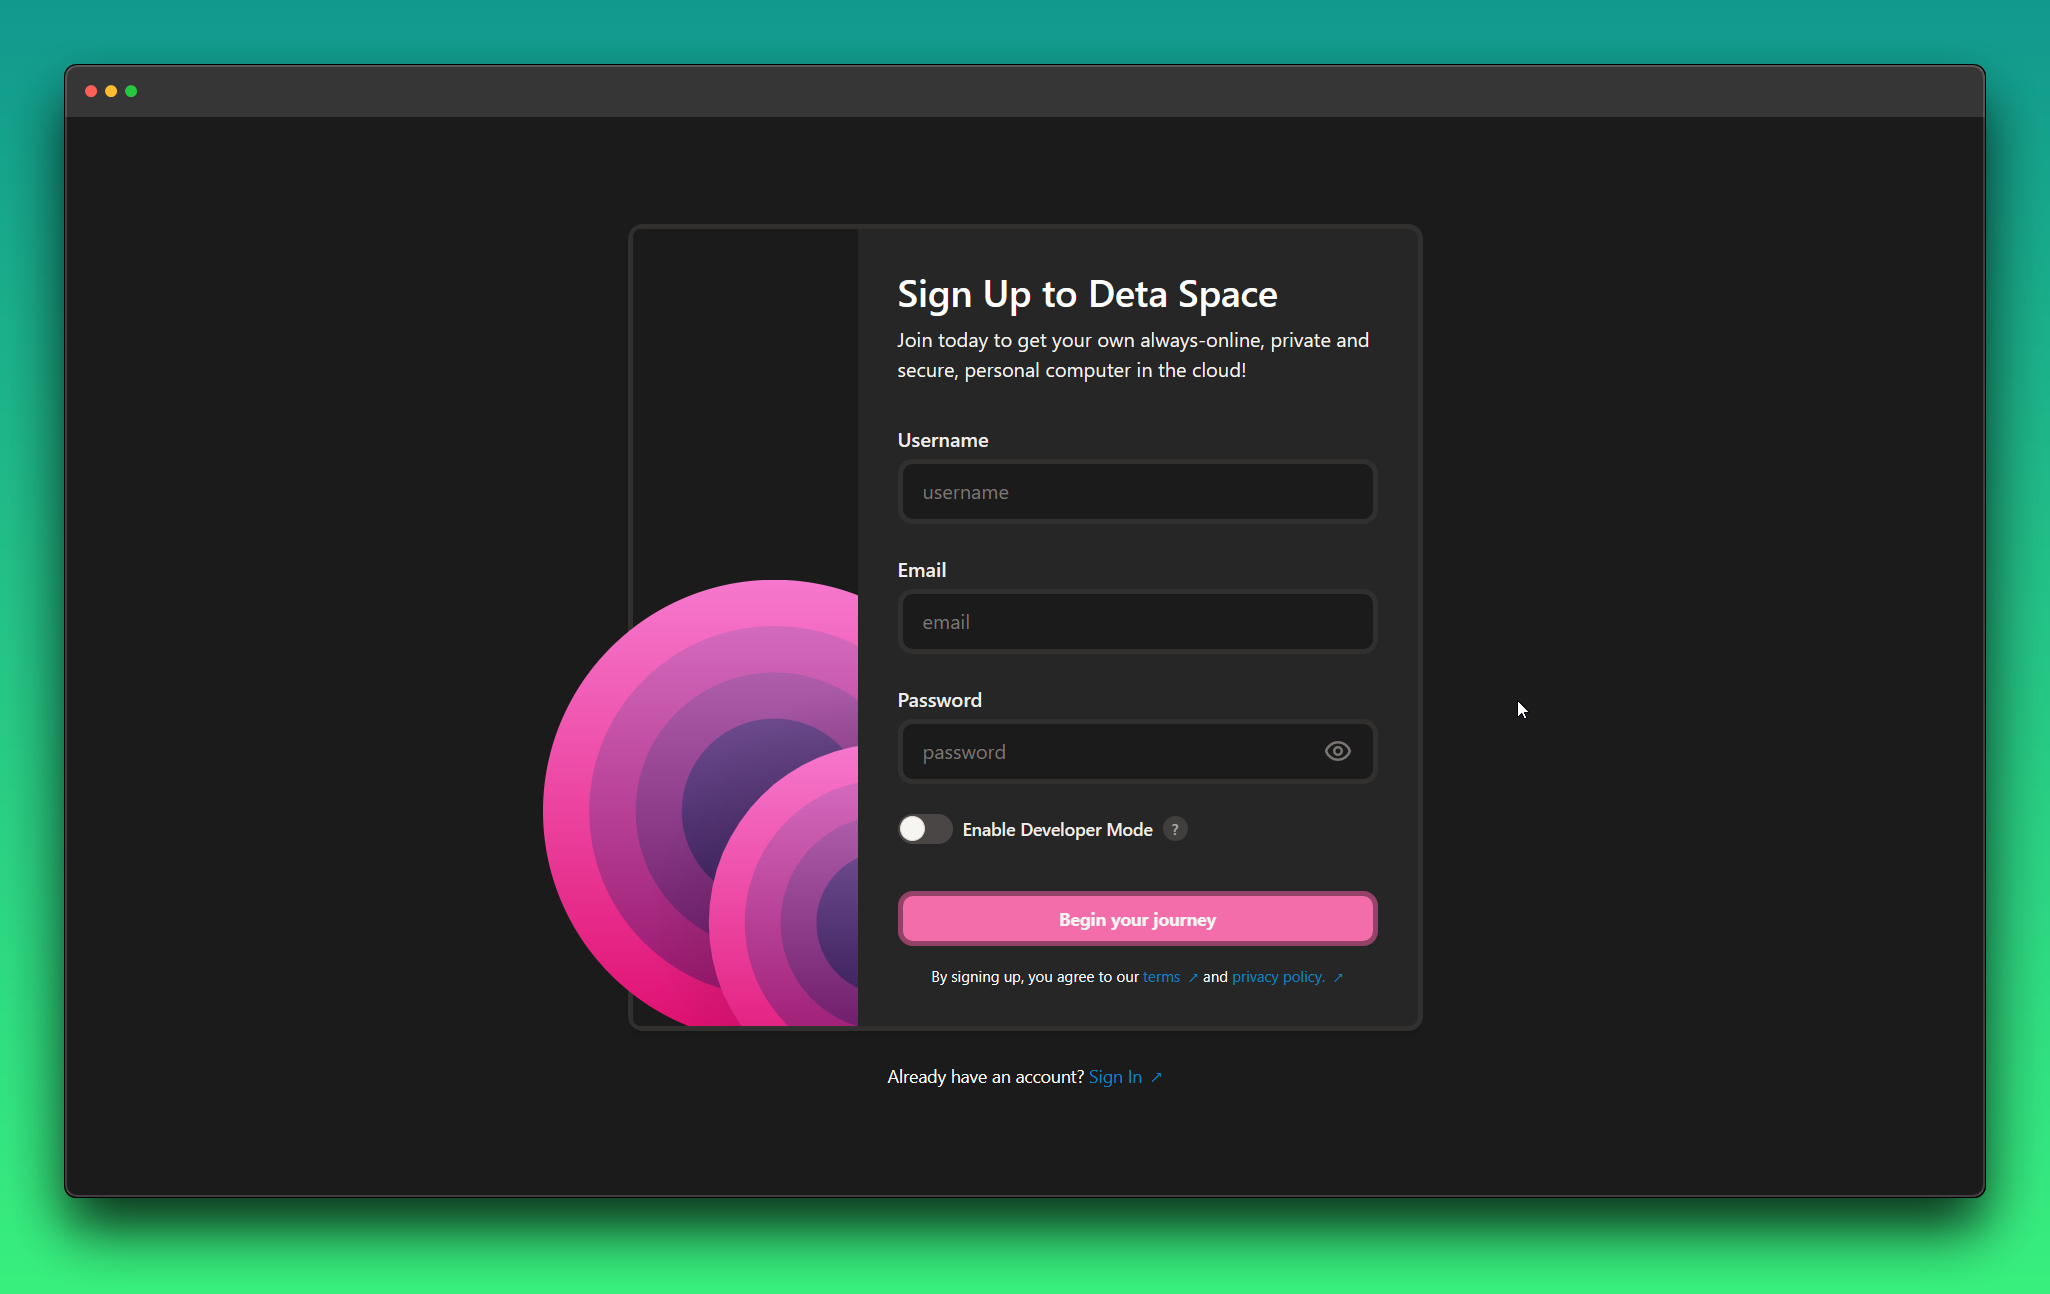
Creating Deta Space Account
As with any other site, you will need an account to host apps on Deta Space. They don't provide any third-party signup method so you will have to have to use a good old email password. You are required to choose a unique username, I think it's for subdomain assignment not sure yet though. You can sign up using this link.
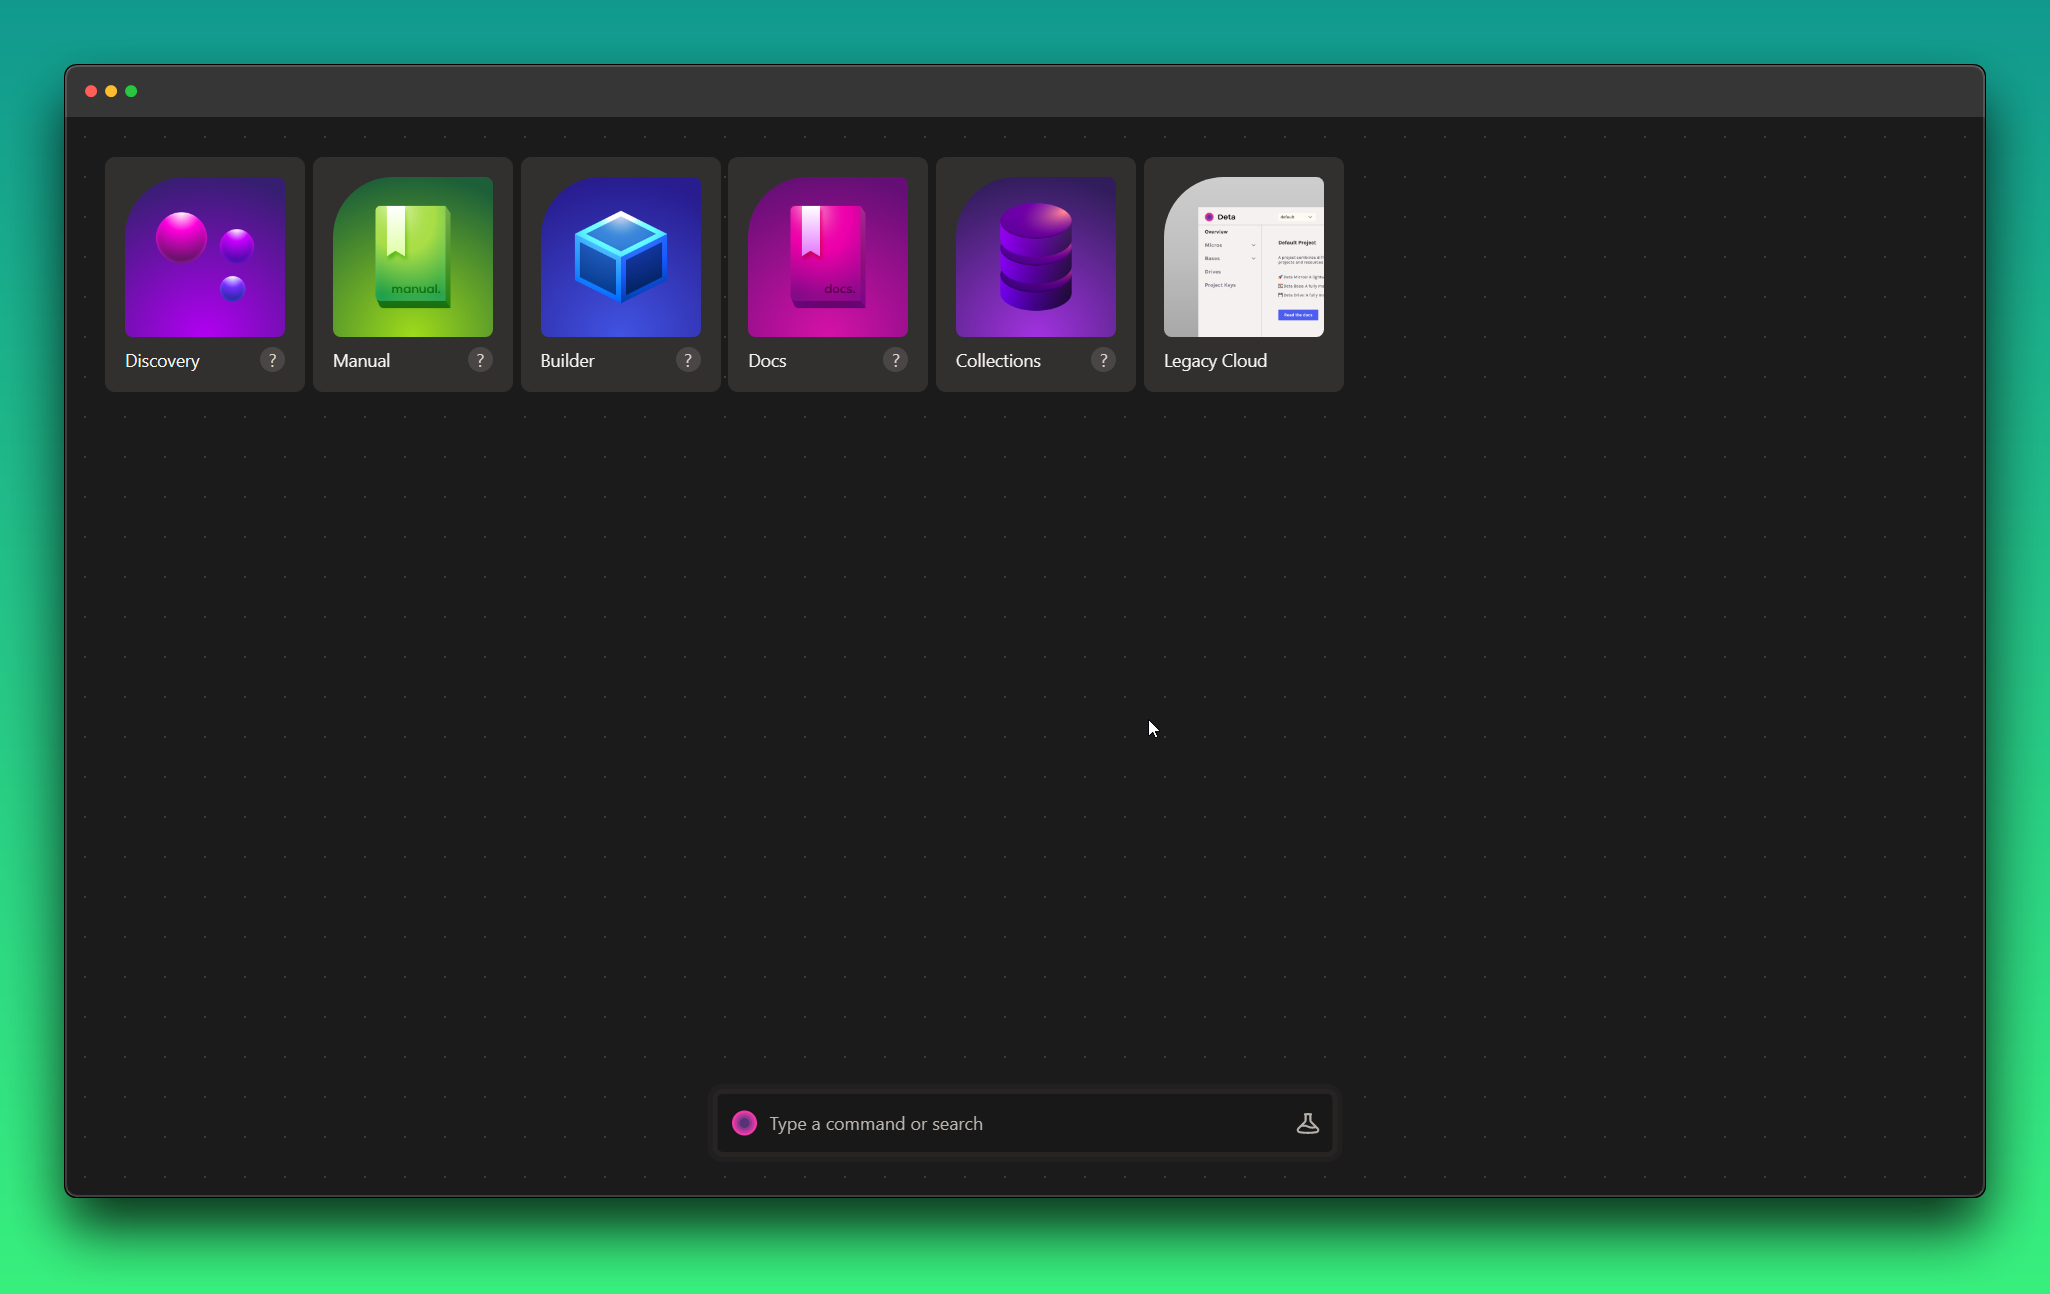
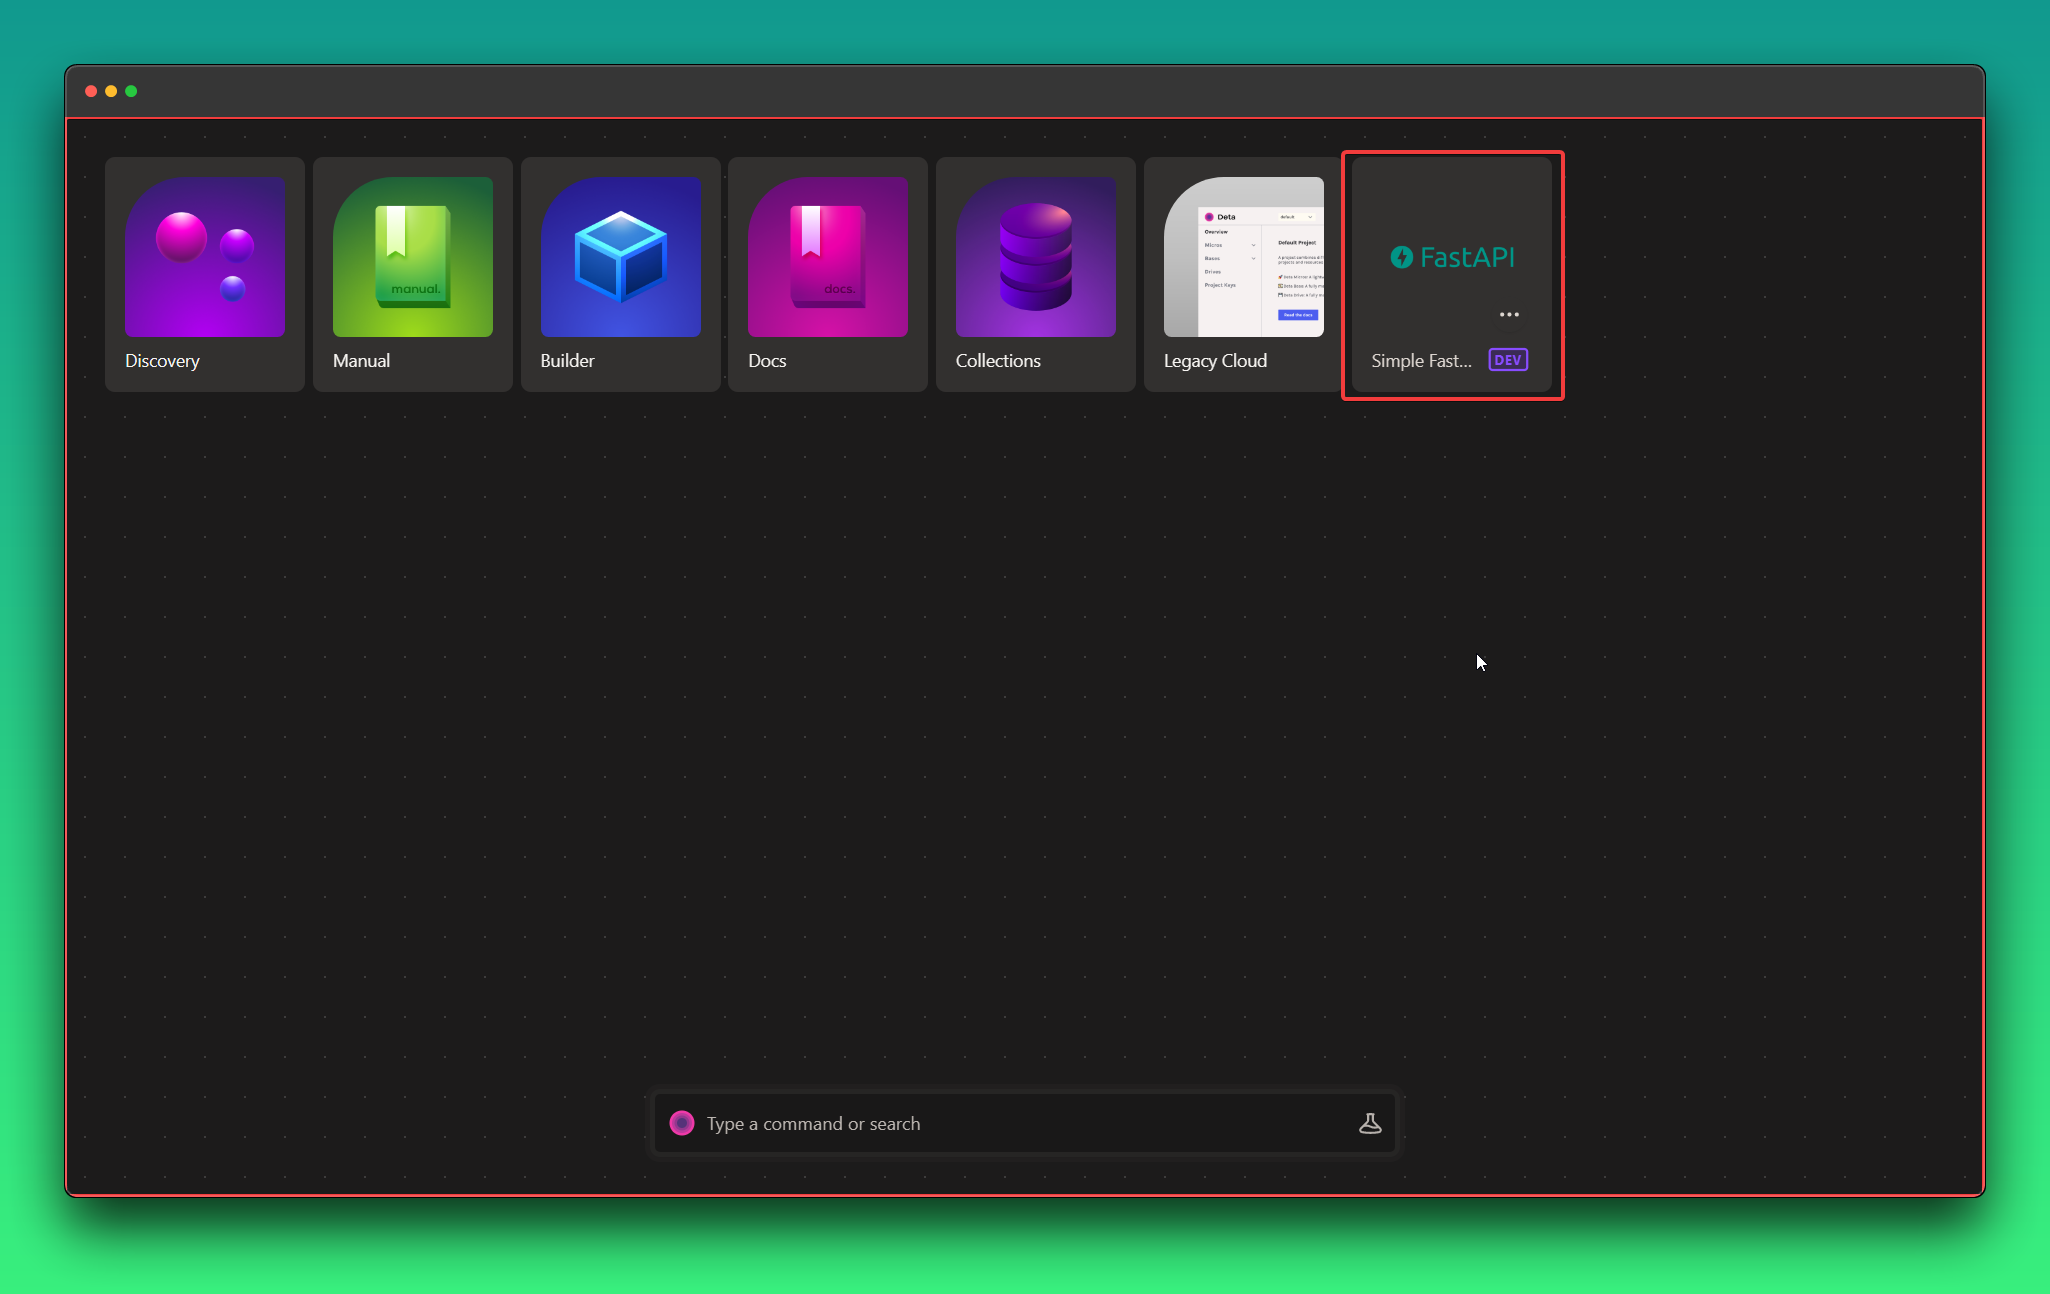
After login, you should be redirected to the dashboard and you should look something like this
Setting Up CLI
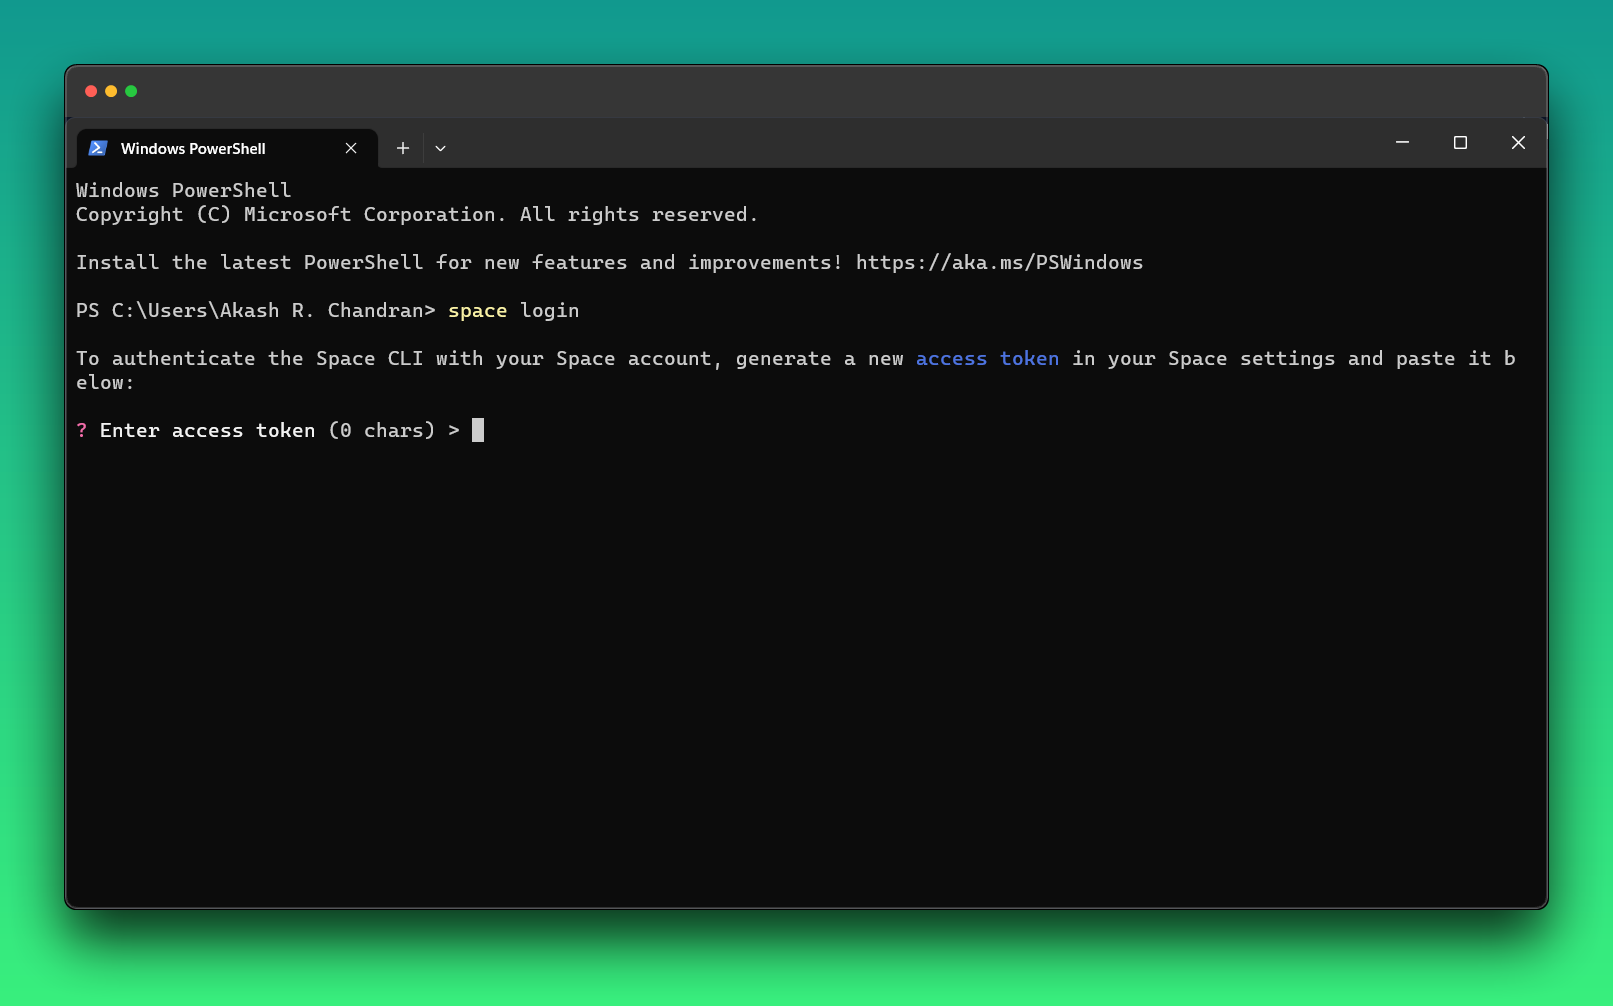
Although the site has more GUI-rich features it still lacks a deployment option. So we have to set up our CLI tool if we want to continue. Setting up the CLI - Space Docs (deta.space) here you can find the instructions to do so. After installation login can be done by using the command
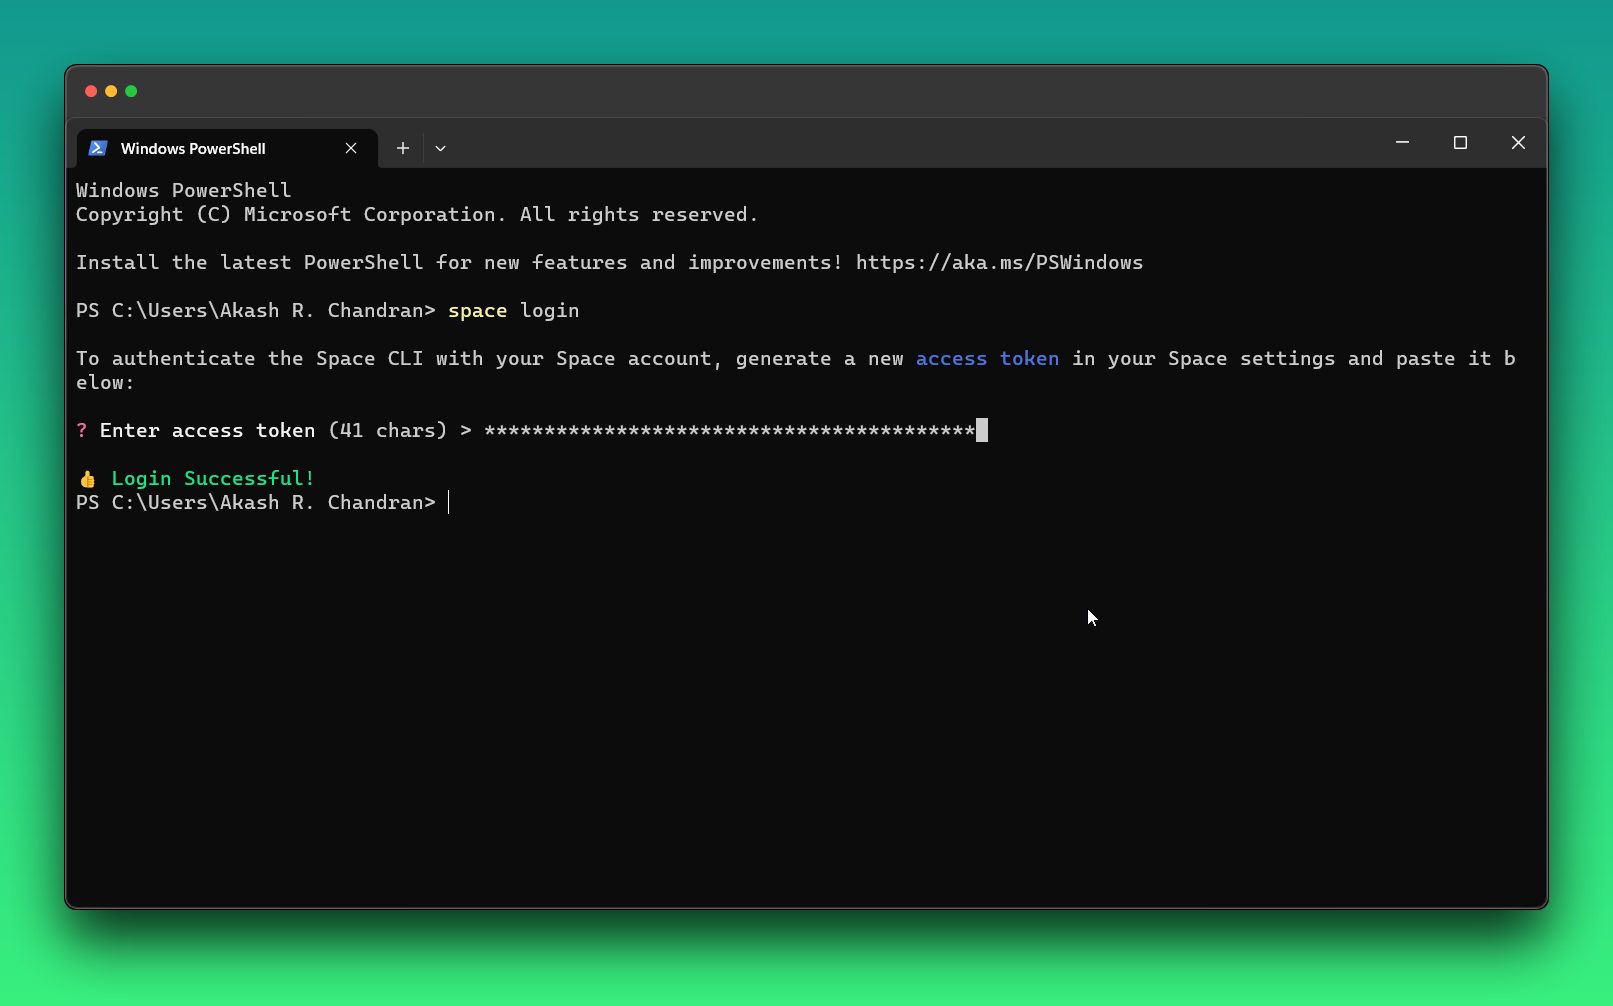
space login
If installed correctly it should show something like this. Next, we need is the authentication token from Deta space.
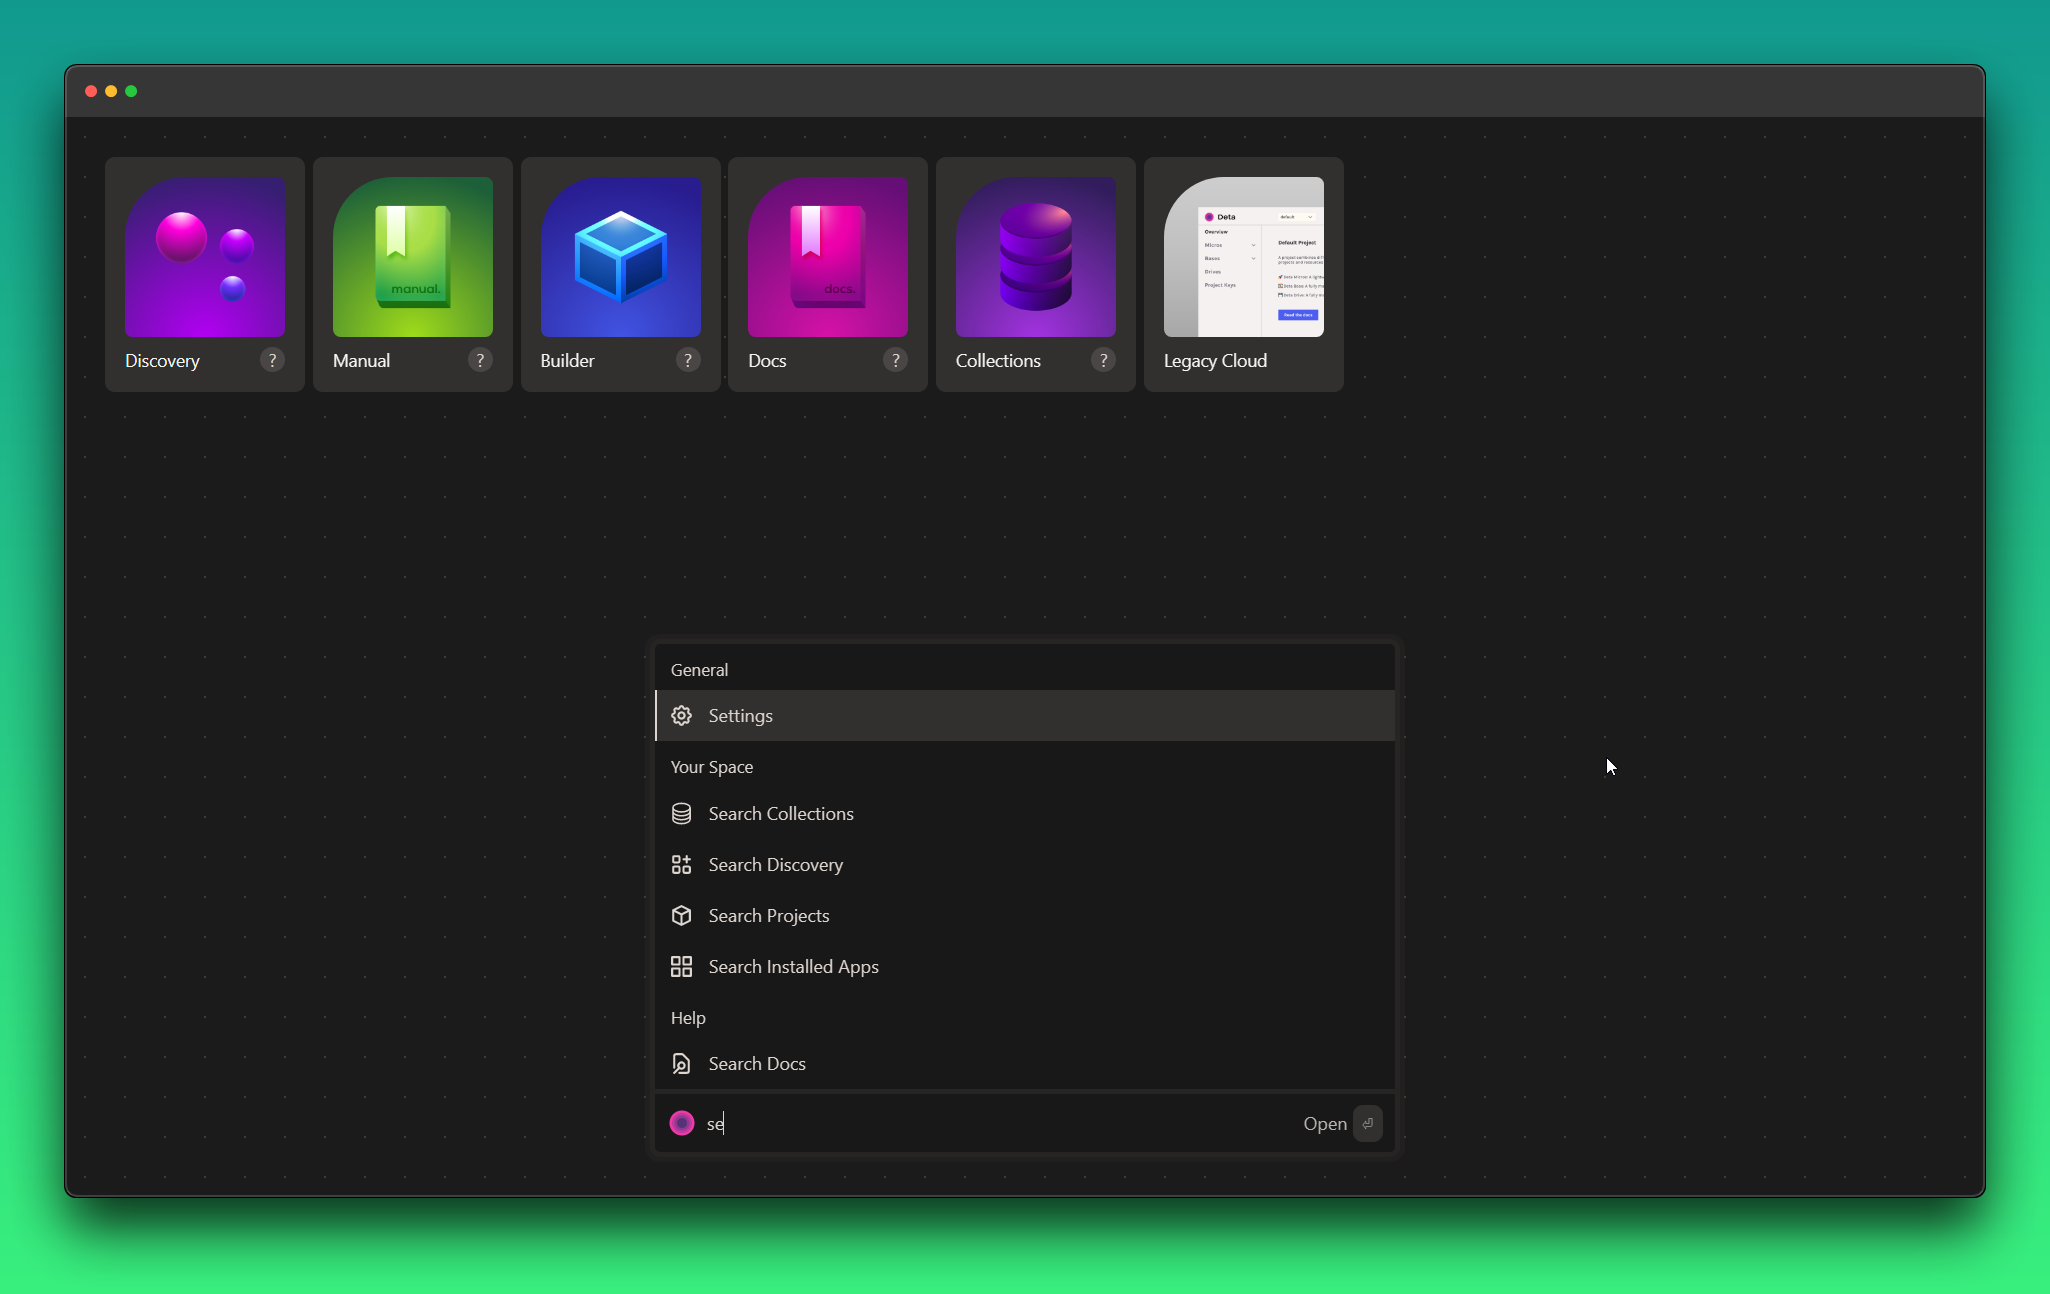
Getting token from Deta Space
After you log in you will be redirected to the dashboard, use the command palette. Just search for the settings and then click generate a new token.
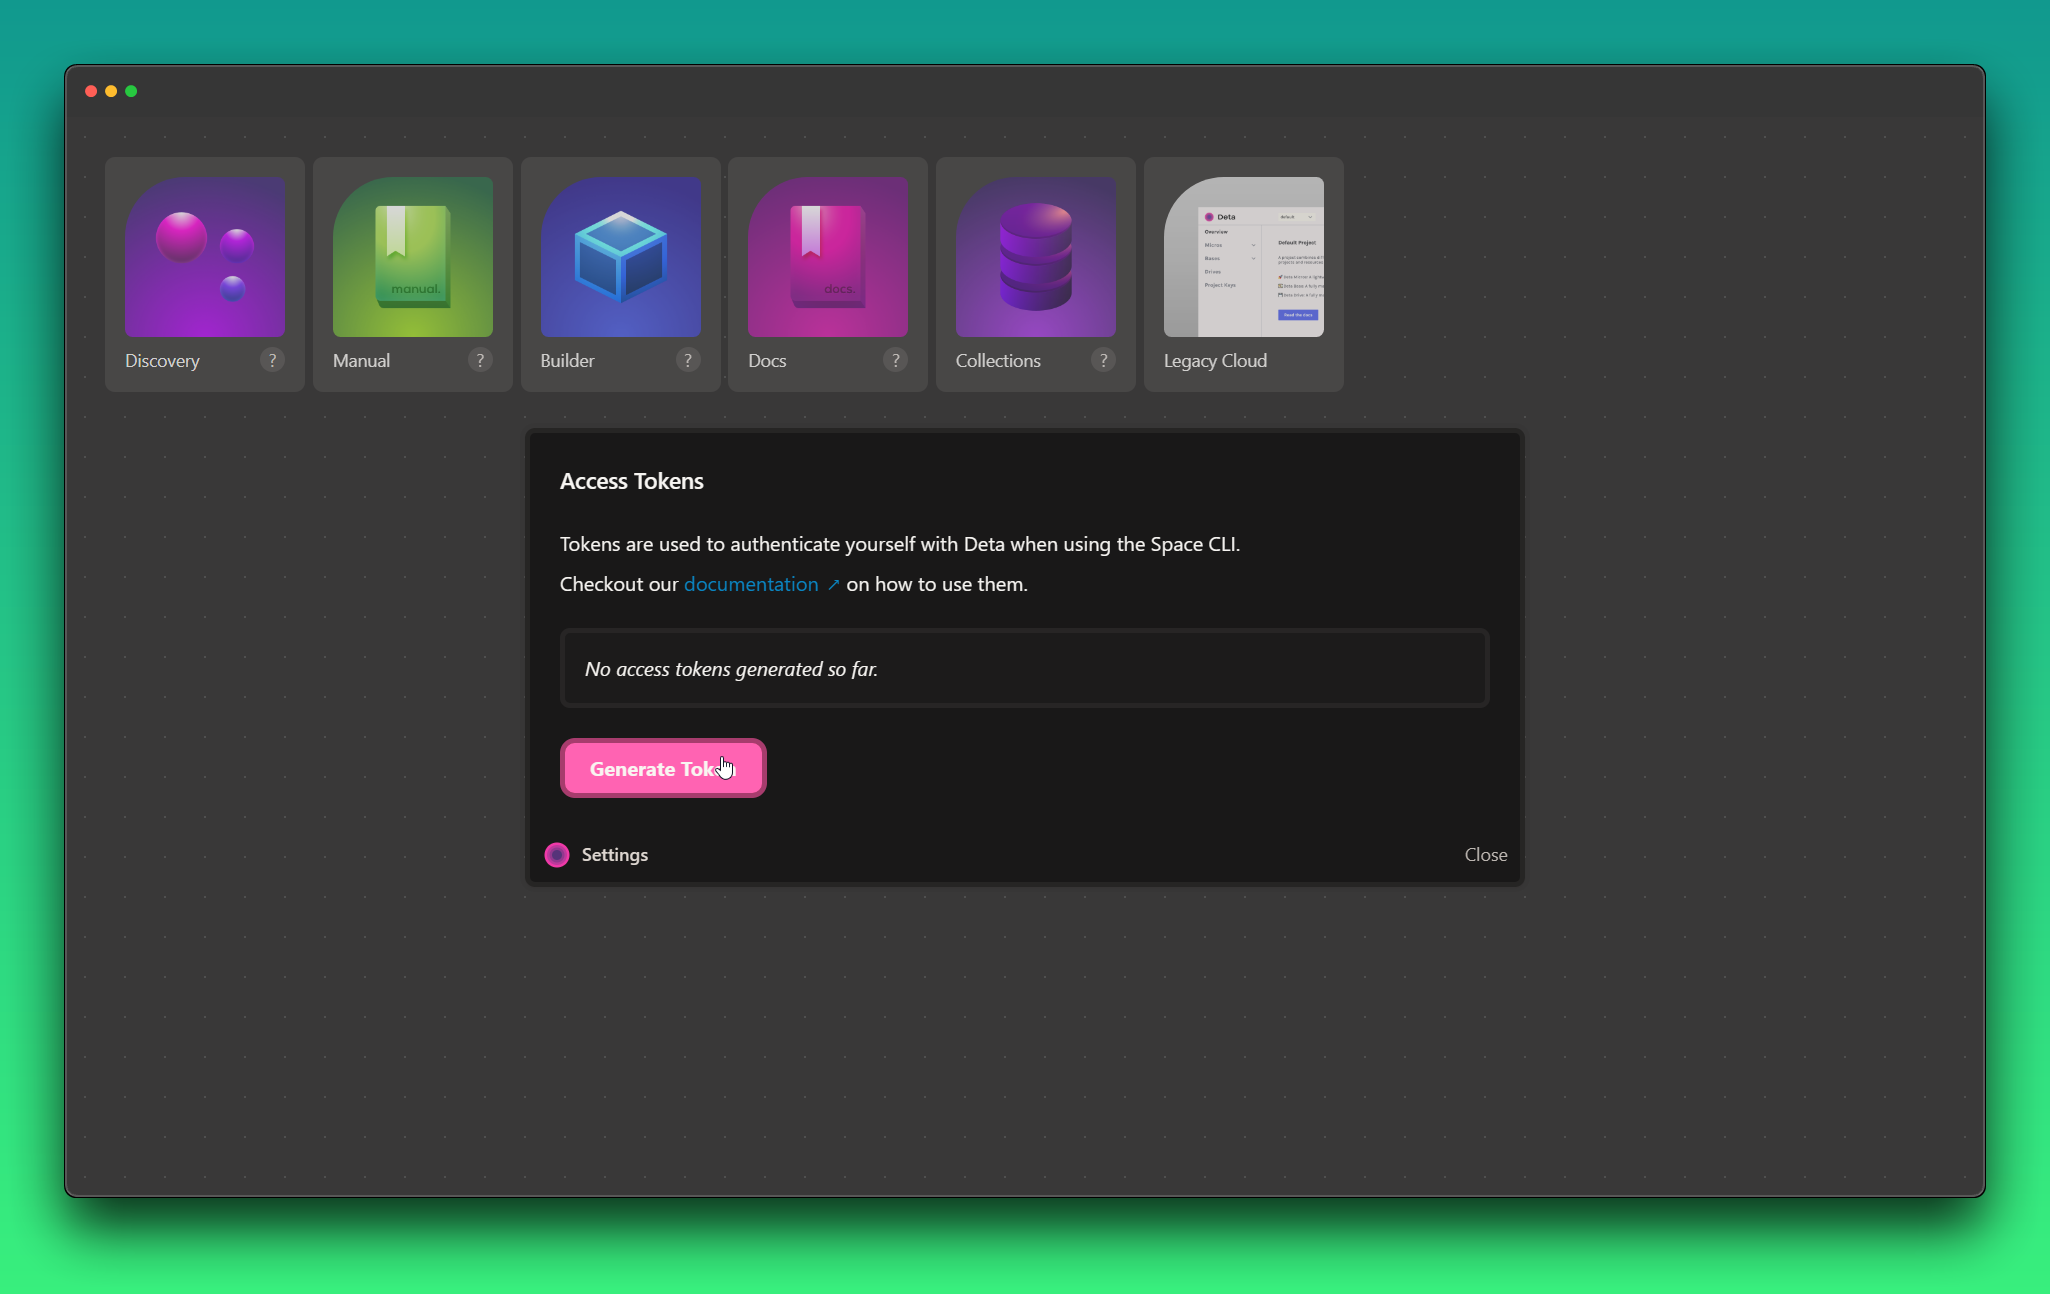
After that copy the token and come back to the terminal page. And paste it onto the terminal
we have successfully set up CLI. Now let's move on to the next part which is pushing the code to Deta Space.
I am not going to show to how to code or install FastAPI for that you can read my old blog post.
You can also view the code project at my GitHub repository at akashrchandran/simple-api (github.com).
Creating .spaceignore file
To exclude certain files and directories from being uploaded during space push, use the .spaceignore file. It acts similarly to a .gitignore file, where each line in the file specifies a pattern. All files and directories matching the patterns will be excluded from the push.
For example, a .spaceignore file with the following content space push will ignore the test and docs paths.
test
docs
For our project, we will be ignoring the folders
venv
__pycache__
Deploying to Deta Space
After all the hard work we have done here is going to pay off, let's make the app accessible from anywhere on the planet. Open up the code in visual studio code or any other IDE or Notepad your wish. And open the terminal on the side or use the integrated terminal option in VS code.
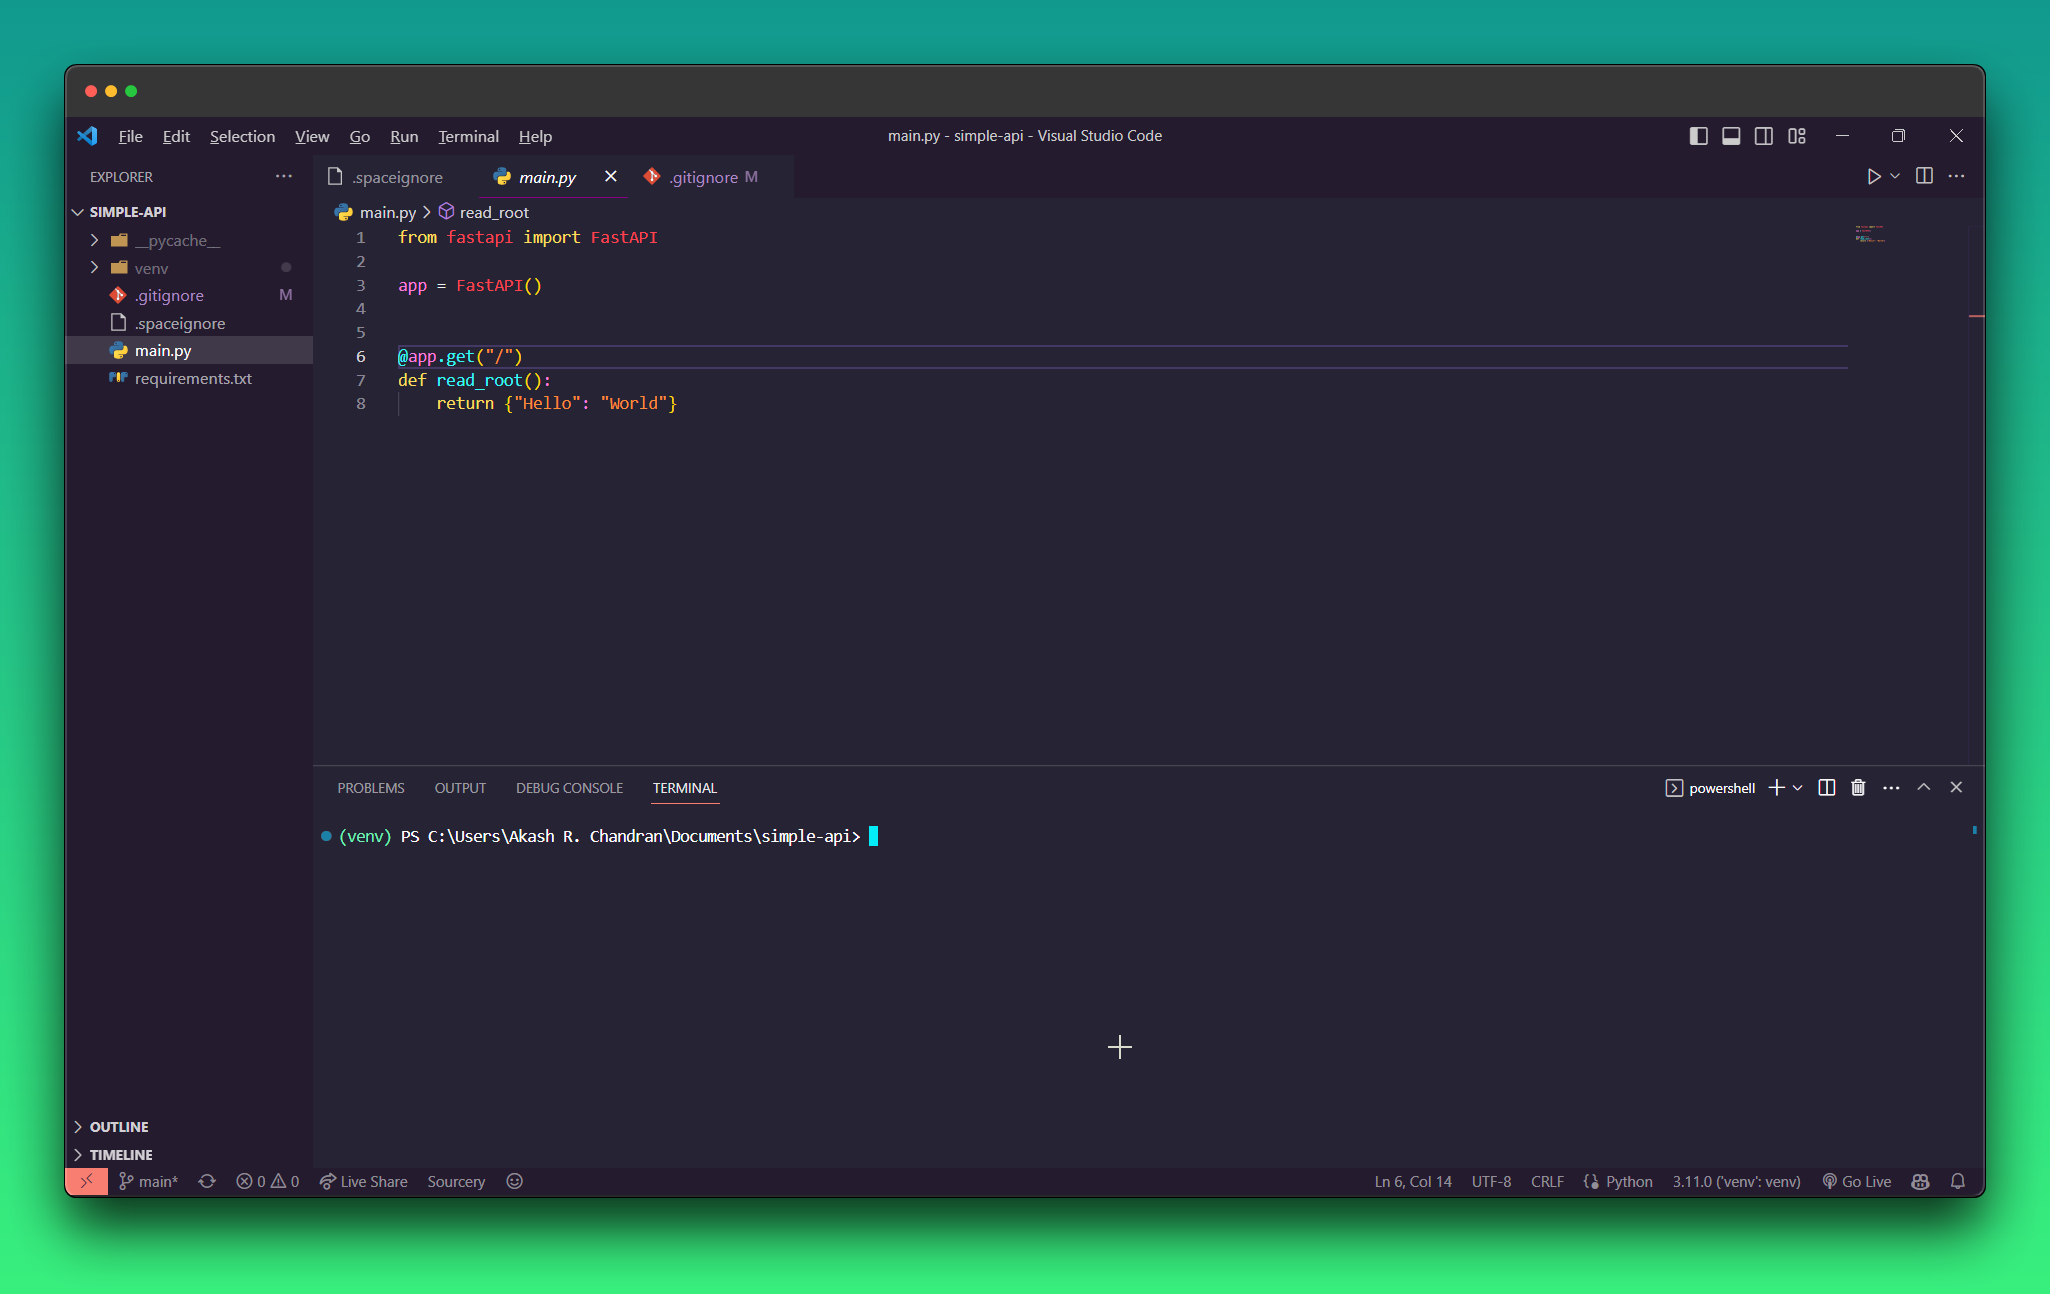
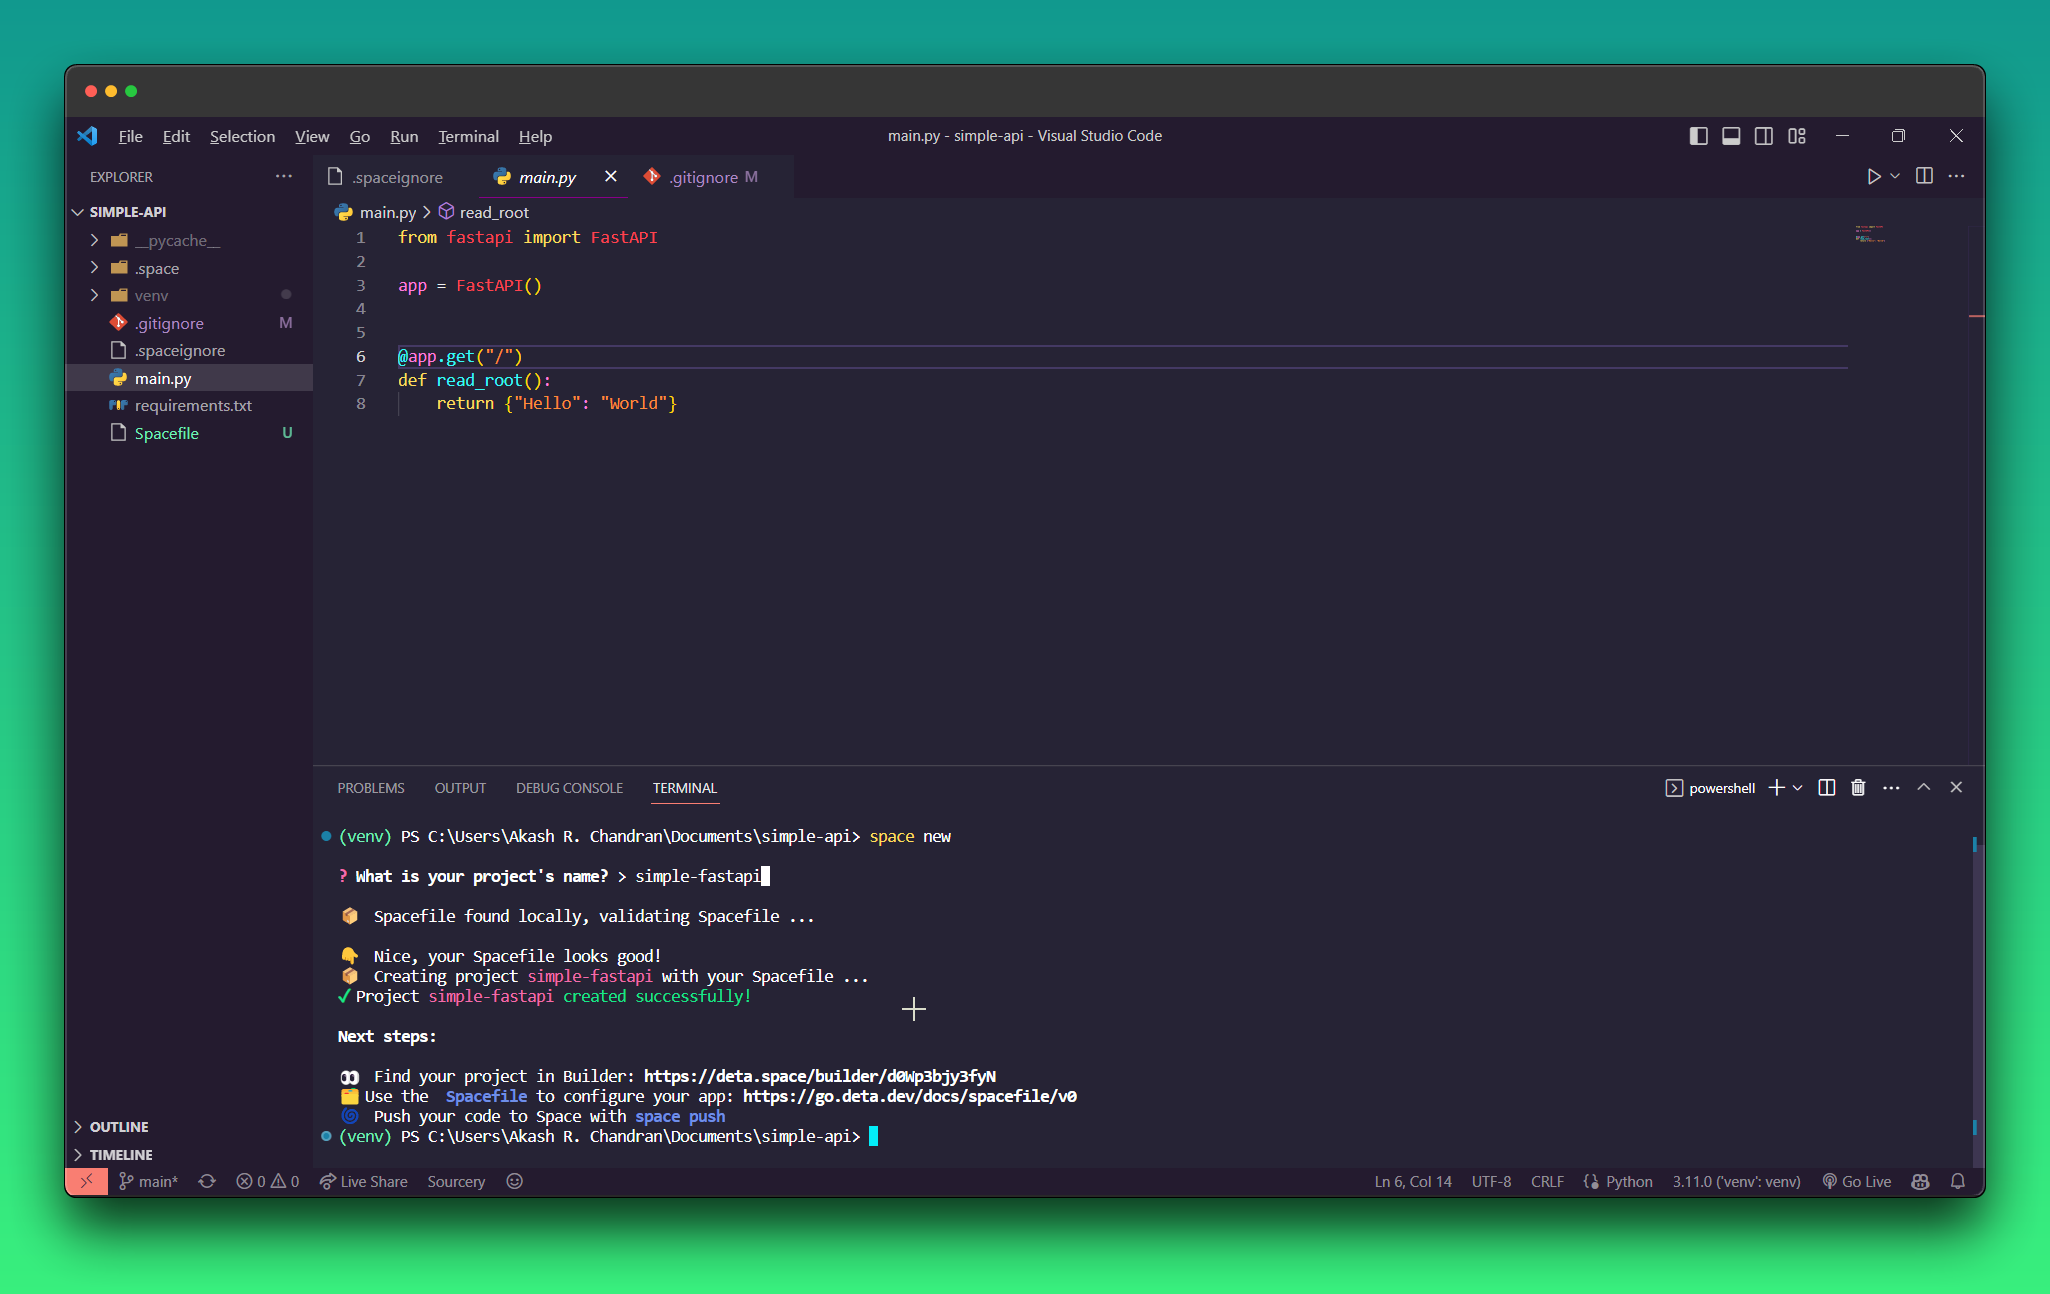
Make sure you have the Space CLI installed & authenticated, then run the following command to create a new Space project in the current directory.
space new
Editing the Spacefile
This will create a Spacefile in the root directory. And it will only have the version v:0 as text and comment to the docs. This is where we define our runtime engine and other requirements. To get a clear idea about it you can visit the Spacefile - Space Docs (deta.space). To run the FastAPI app we need to define some requirements in the Spacefile. Here's what the file looks like after adding the required lines.
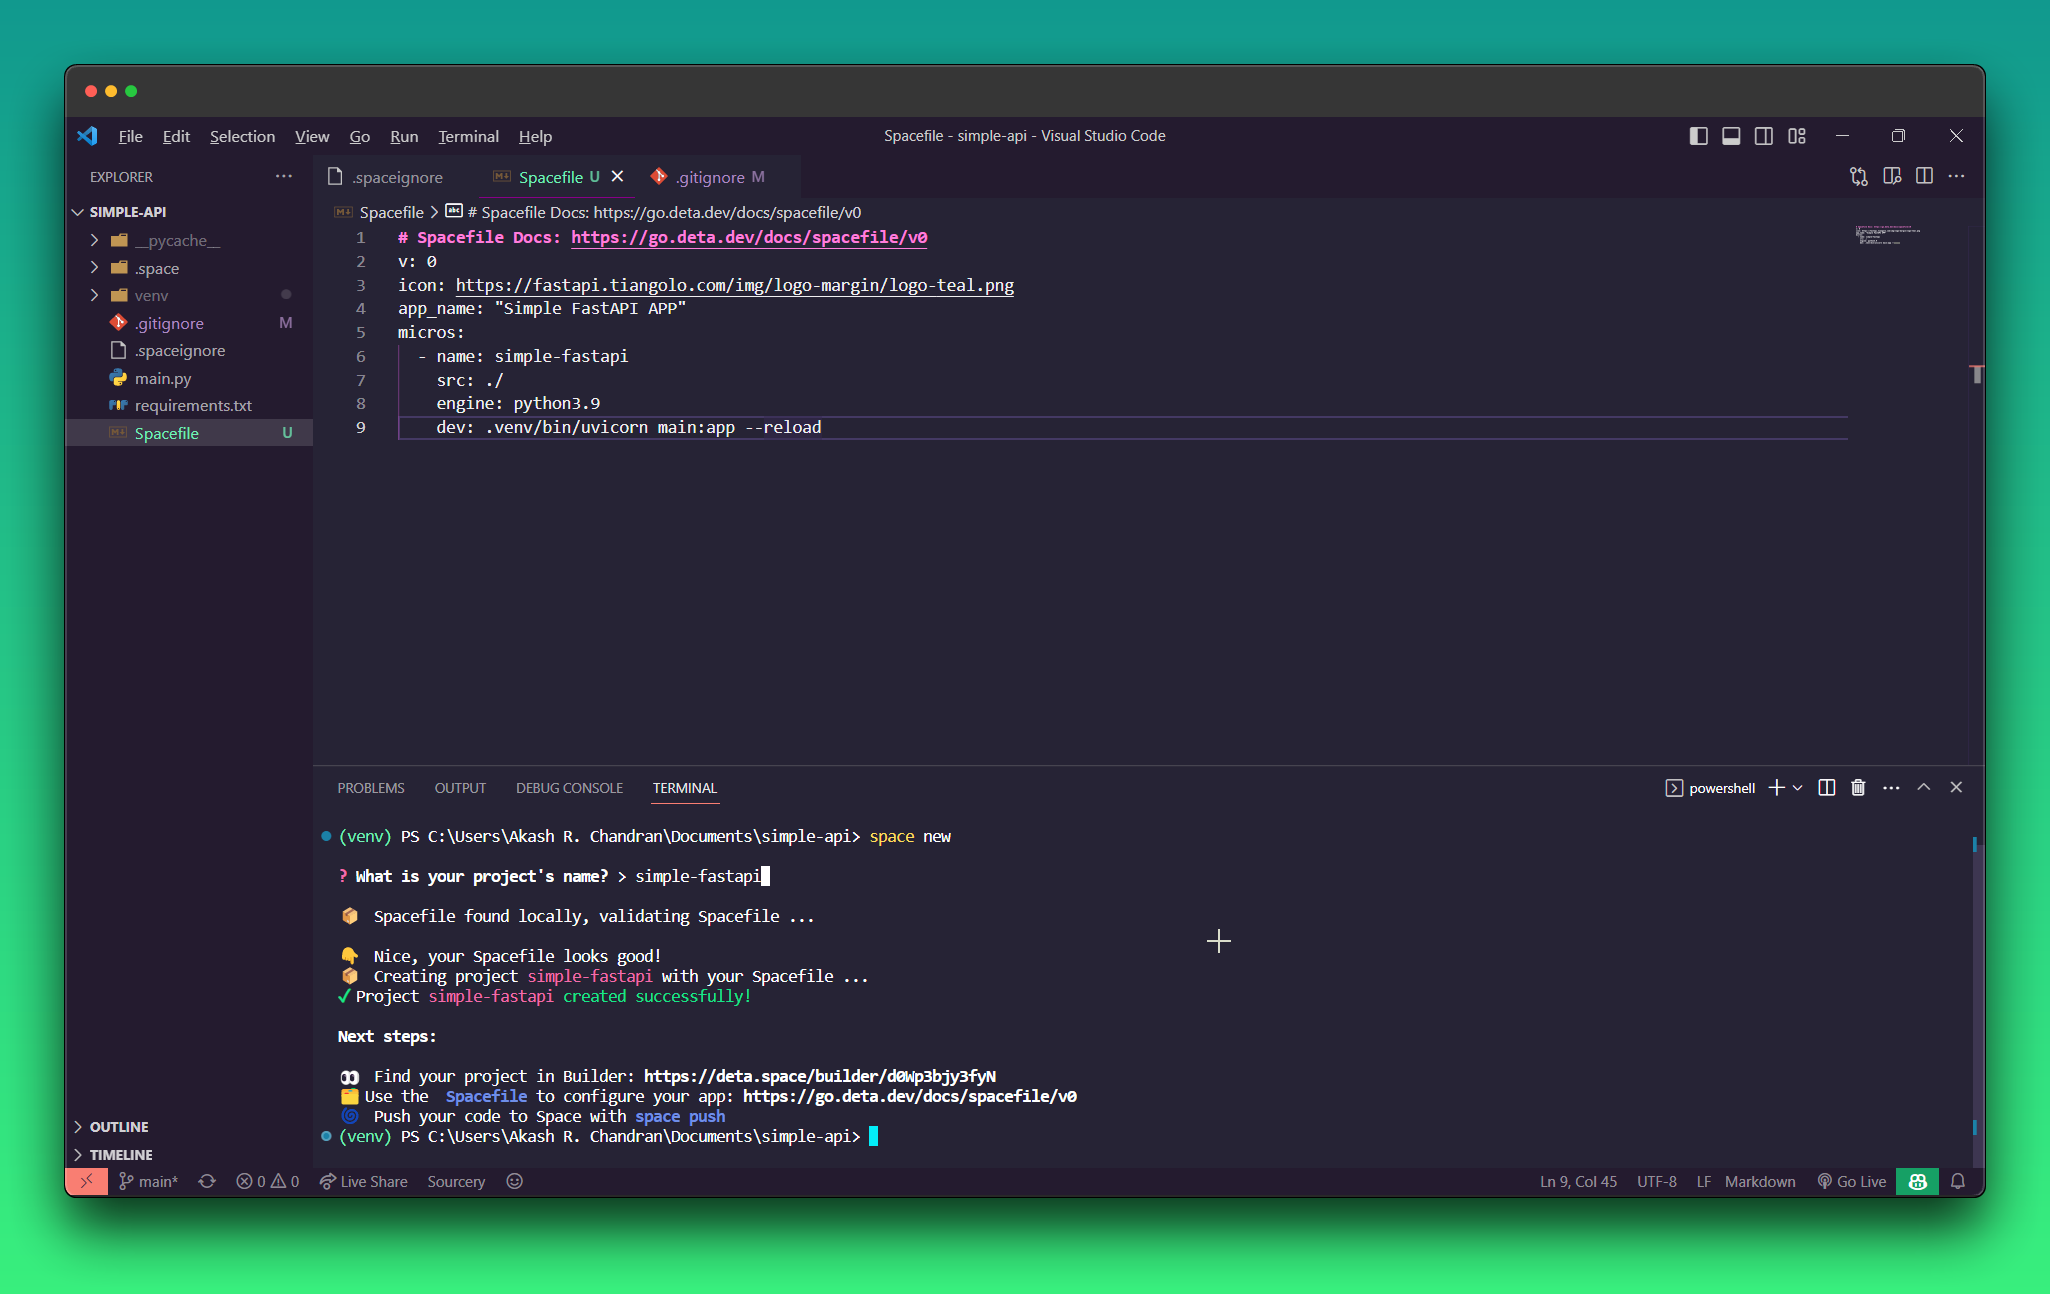
# Spacefile Docs: https://go.deta.dev/docs/spacefile/v0
v: 0
icon: ./icon.png
app_name: "Simple FastAPI APP"
micros:
  - name: simple-fastapi
    src: ./
    engine: python3.9
    dev: .venv/bin/uvicorn main:app --reload
I ran into a few troubles while making the Spacefile, it seems python apps don't support run commands. Use dev to specify a command which starts your Micro in development mode. This command will be used to start your micro when you run.
You can specify the version of python you need using the key engine. There are only two versions available currently python3.9 and python3.8.src is the directory where the main.py file resides. You can keep it inside another folder and then specify the path to that folder.
for the icon I am using the logo of FastAPI, you can check it out at logo-teal.png (1023×369) (tiangolo.com).
PS: You are required to keep the file main.py as the entry file or it will not work. Make sure you use main.py for any python project.
Deploying the app
To deploy we just need to give the command, and it should automatically deploy and give the output URL.
space push
Congratulations the app is live🥳🥳. And you will be able to see the application in your dashboard. You can find my deployed version at https://simplefastapi-1-h6036723.deta.app.
Conclusion
This was a simple blog explaining the way to deploy the FastAPI application on Deta Space. There are many more things you can add to the project, I am just setting an example. The documentation is pretty amazing and you can find almost all the parts documented, do give it a read at Getting started - Space Docs (deta.space).
Overall I would say it's pretty easy compared to other services, even though some services are popular yet it's hard to get the app deployed on the service. The Deta Space is not that famous but it was easy to deploy apps. I am sure that I will use the service again to host my apps.
The Deta Space is still under construction and it's developed and updated daily. This makes it vulnerable to bugs and other problems. If you are stuck at some place, first read the docs. If you're still stuck after that then you can join their Discord server and post your queries and problems.
The community may be small but they are active and almost answers every single query raised. Giving feedback will help build the platform faster and better, do share your review on Discord.
Finally thank you for reading this blog, it was a good experience to share my view and knowledge about the platform. Have a great day!